Chevrolet Equinox Service Manual: Engine Block Assemble Engine Block
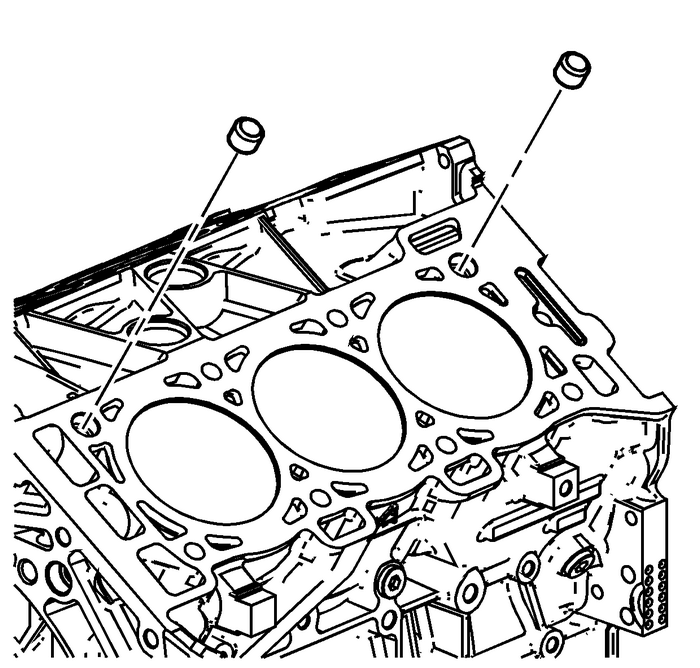
Install the cylinder block-to-cylinder head alignment dowels.
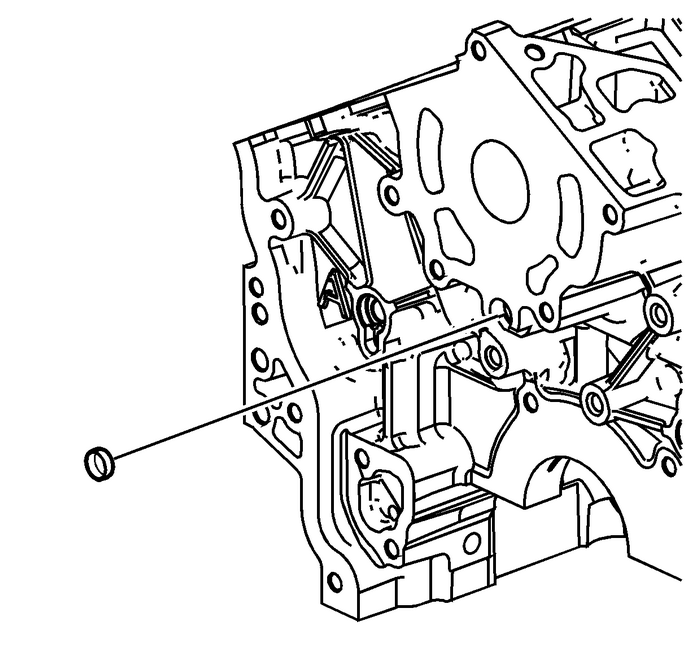
Install the NEW front oil gallery expansion plug.Ensure the NEW front oil gallery expansion plug is installed to the proper depth.
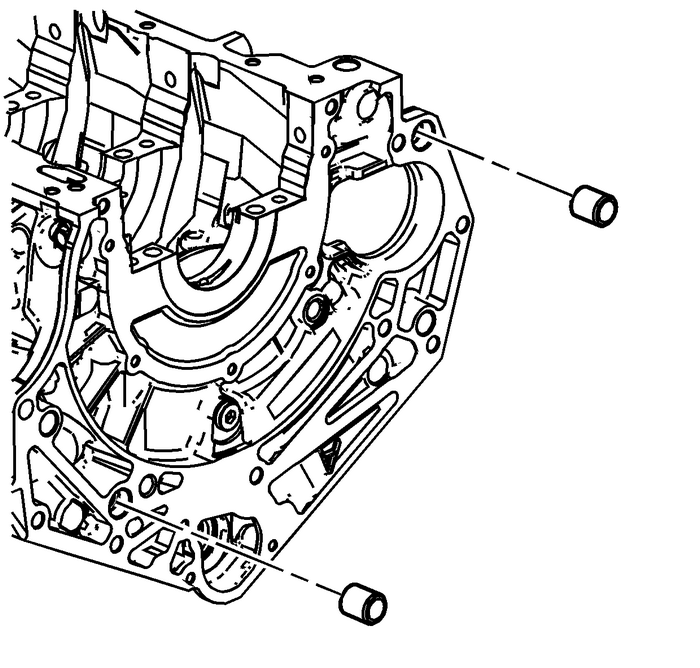
Install the cylinder block-to-transmission alignment dowels.
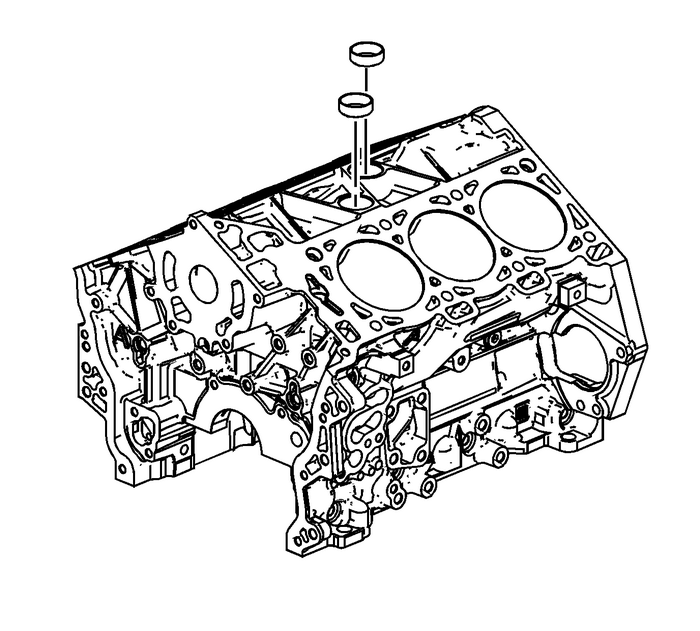
Apply the RTV sealant on the NEW coolant expansion plugs. Refer toAdhesives, Fluids, Lubricants, and Sealersfor recommended sealant.Install the NEW coolant expansion plugs.Ensure the NEW coolant expansion plugs are installed to the proper depth.
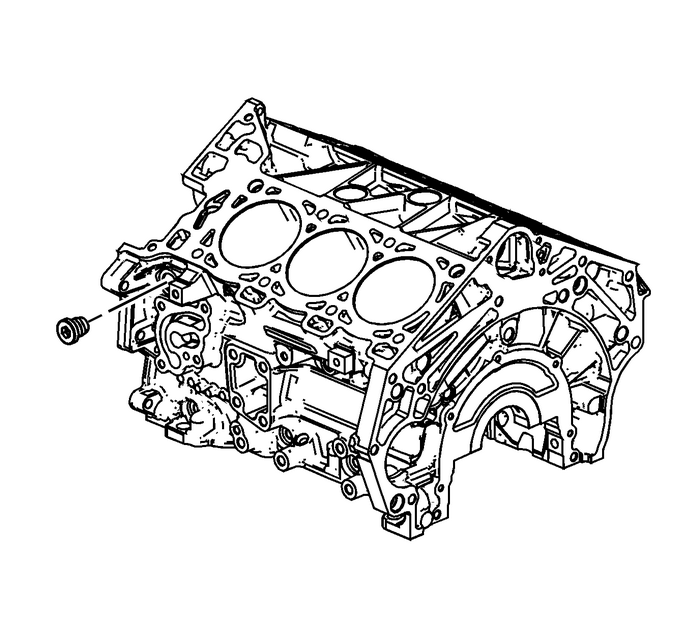
Apply thread sealant on the threads of the M20 left side oil gallery threaded plug.Refer toAdhesives, Fluids, Lubricants, and Sealersfor recommended sealant.
Caution:Refer toFastener Caution.
Install the M20 left side oil gallery threaded plug and tighten to 75-Y (55-lb-ft).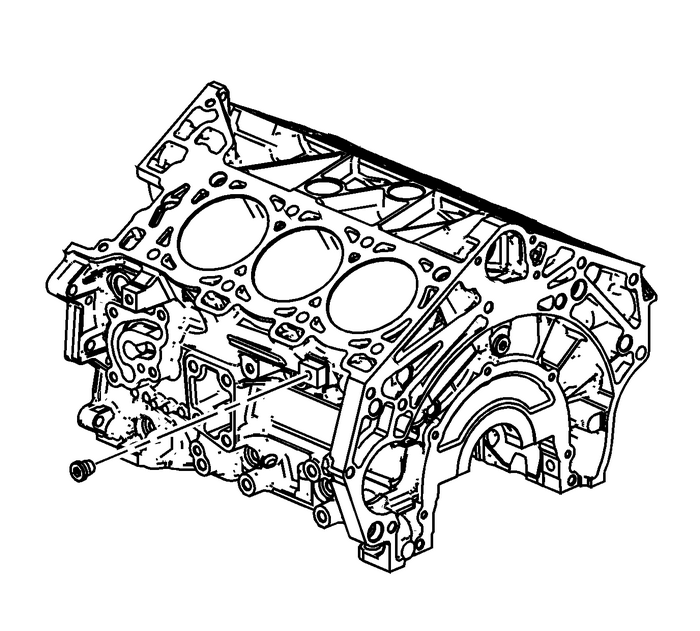
Apply thread sealant on the threads of the M14 left side coolant drain threaded plug.Refer toAdhesives, Fluids, Lubricants, and Sealersfor recommended sealant.Install the M14 left side coolant drain threaded plug and tighten to 50-Y (37-lb-ft).
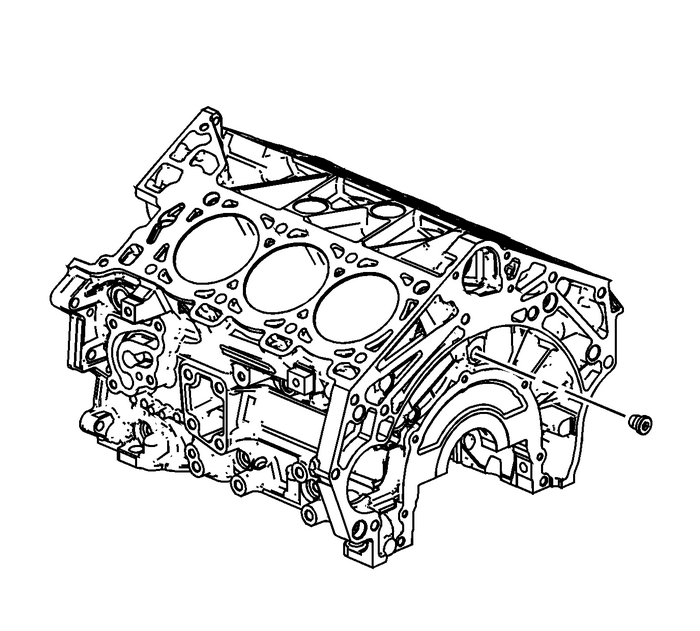
Apply thread sealant on the threads of the M14 rear oil gallery threaded plug. RefertoAdhesives, Fluids, Lubricants, and Sealersfor recommended sealant.Install the M14 rear oil gallery threaded plug and tighten to 50-Y (37-lb-ft).
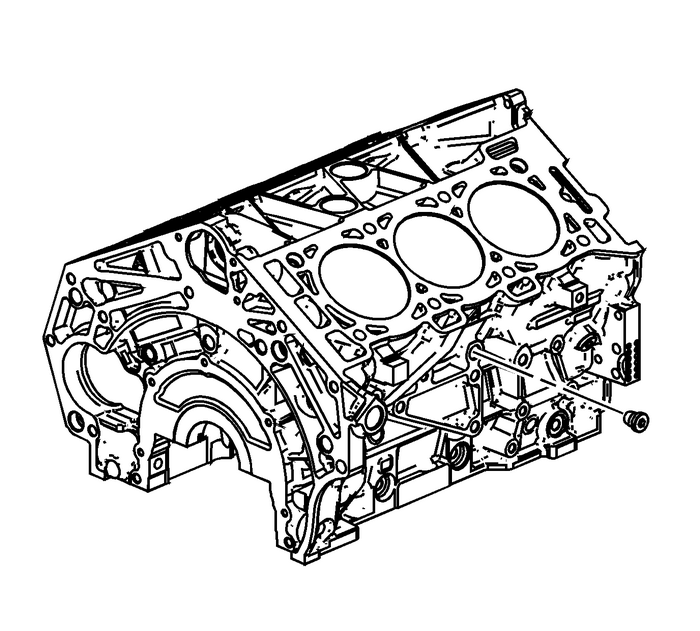
Apply thread sealant on the threads of the M14 right side coolant drain threaded plug.Refer toAdhesives, Fluids, Lubricants, and Sealersfor recommended sealant.Install the M14 right side coolant drain threaded plug and tighten to 50-Y (37-lb-ft).
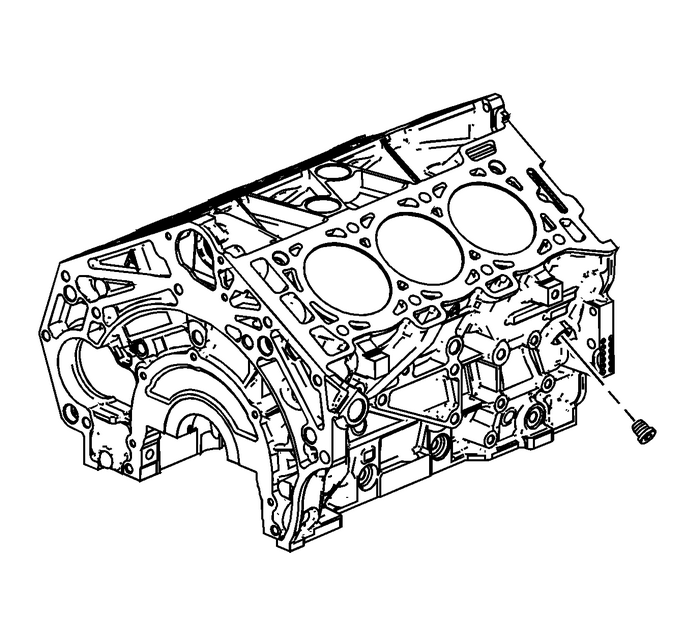
Apply thread sealant on the threads of the M14 right side oil gallery threaded plug.Refer toAdhesives, Fluids, Lubricants, and Sealersfor recommended sealant.Install the M14 right side oil gallery threaded plug and tighten to 50-Y (37-lb-ft).
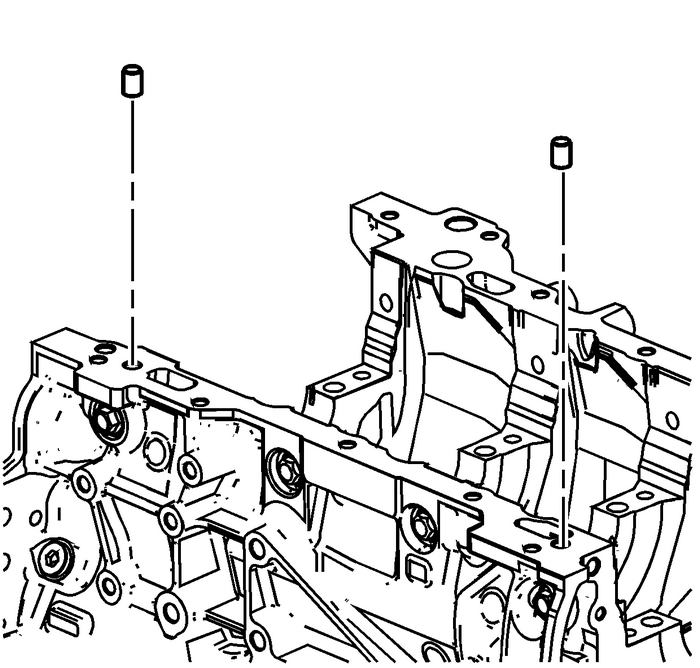
Install the cylinder block-to-oil pan alignment dowels.
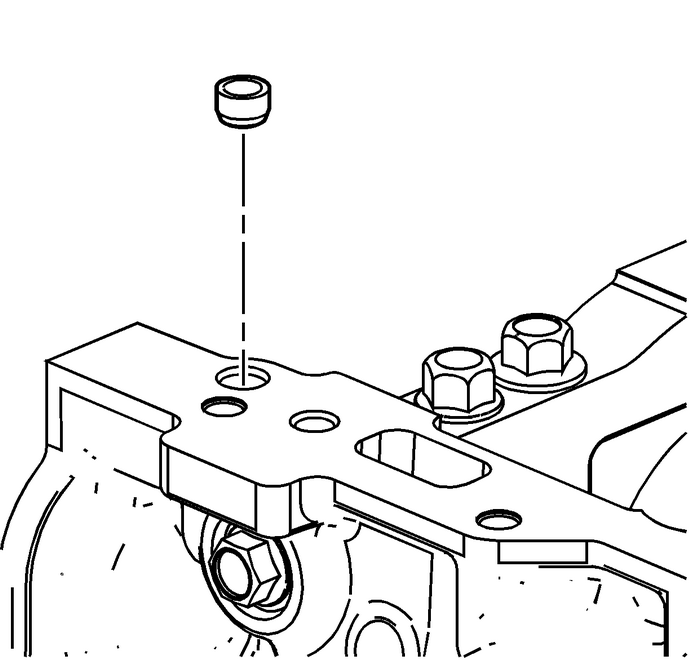
Install the NEW right front oil pan rail oil gallery expansion plug.Ensure the NEW right front oil pan rail oil gallery expansion plug is installed tothe proper depth.
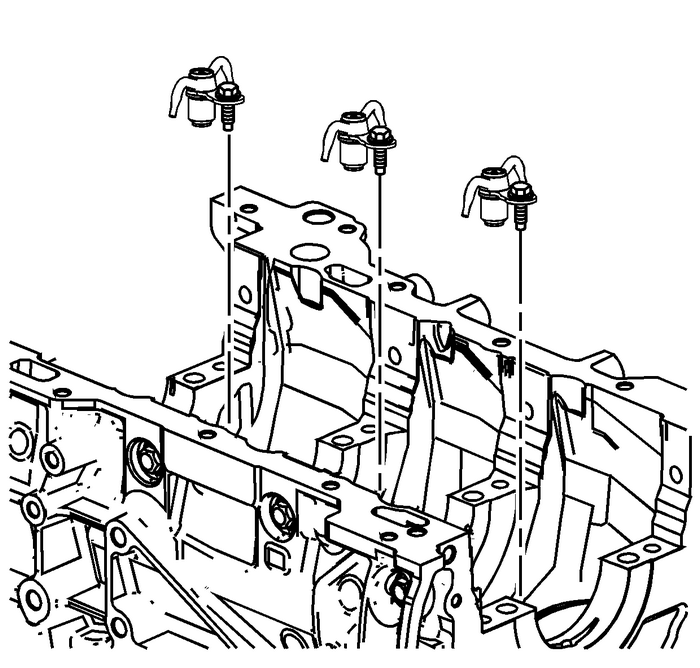
Install the oil jets.Install the oil jet bolts and tighten to 10-Y (89-lb-in).
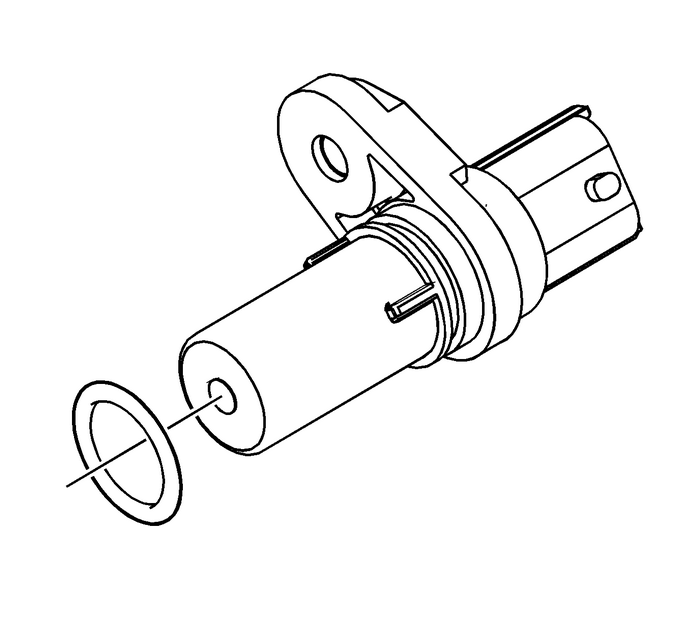
Install the NEW crankshaft position sensor O-ring, if damaged.
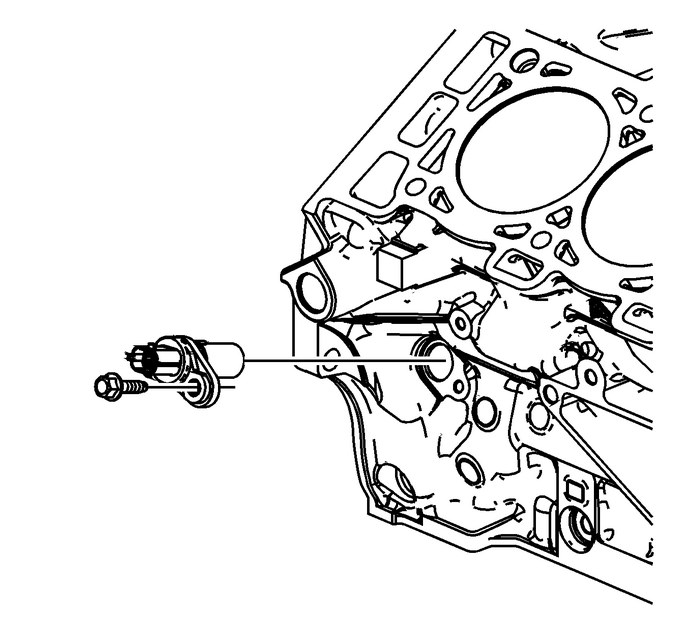
Install the crankshaft position sensor.Install the crankshaft position sensor bolt and tighten to 10-Y (89-lb-in).
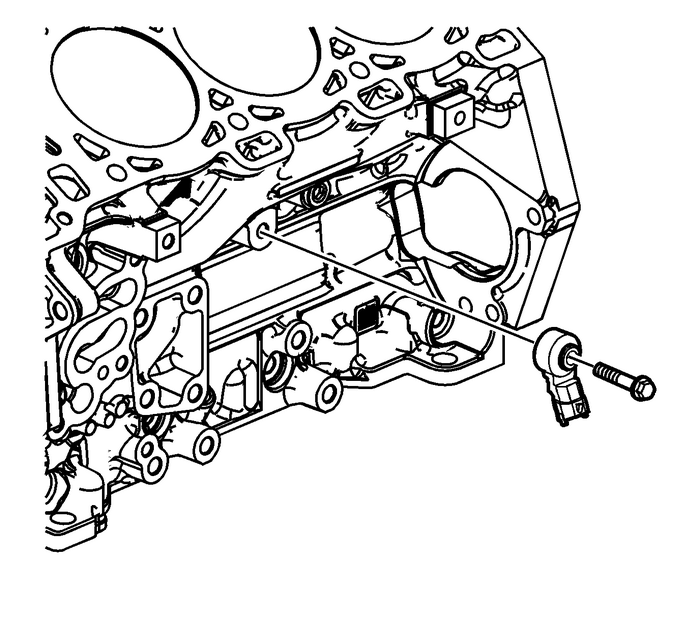
Install the left knock sensor to the cylinder block, as shown.Install the left knock sensor bolt and tighten to 25-Y (18-lb-ft).Ensure proper sensor orientation.
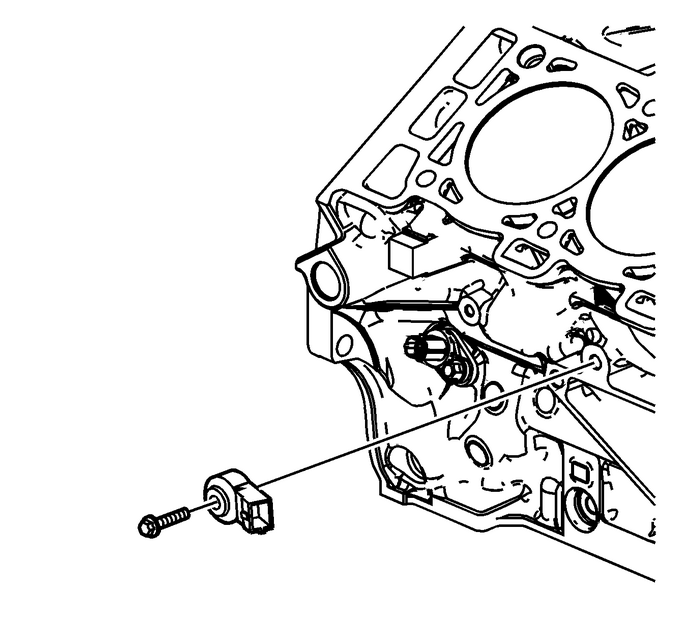
Install the right knock sensor to the cylinder block, as shown.Install the right knock sensor bolt and tighten to 25-Y (18-lb-ft).Ensure proper sensor orientation.
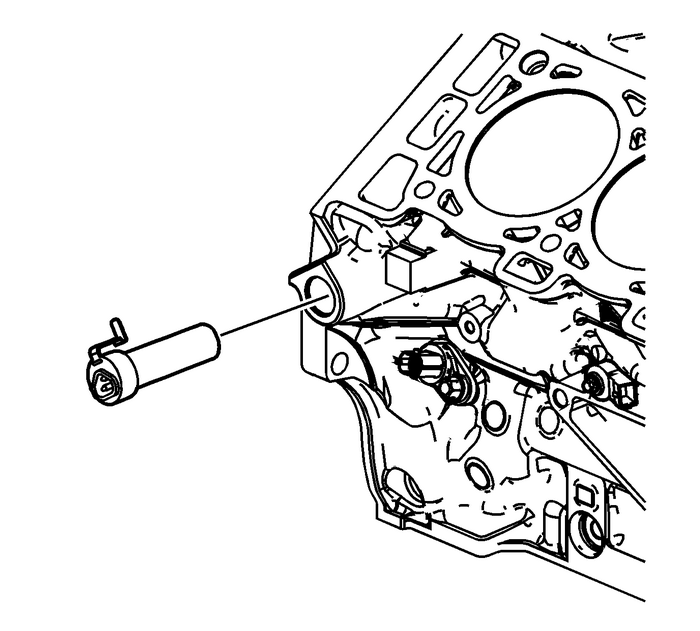
Install the block heater cartridge, if equipped.
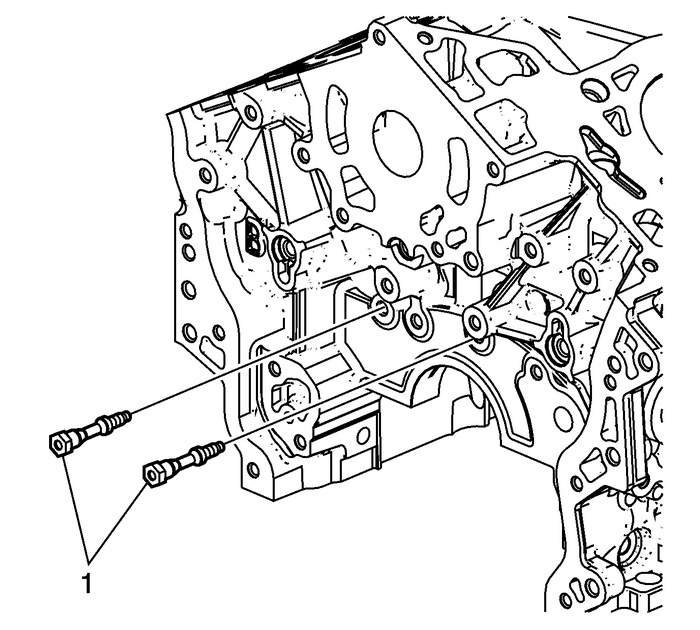
Install the engine front cover studs-(1) and tighten to 15-Y (11-lb-ft).
 Balance Shaft to Engine Timing (LAF, LEA, or LUK) Engine Block Cylinder Block Balance Shaft
Install the balance shaft drive sprocket.Note:If the balance shafts are not properly timed to the engine,the engine may vibrate or make noise.Install the balance shaft drive chain with the colored lin ...
 Engine Front Cover and Oil Pump Installation Engine Block Cylinder Block Cyl Block Front Cover
Install the engine front cover-(1) with a newgasket-(2).Caution:Refer toFastener Caution.Note:The center bolt-(1) should be tightenedlast.Install the engine front cover bolts and tighten to25-Y-(18-lb ...
Other materials:
Primary Timing Chain Guide Replacement - Lower Valvetrain Valvetrain Timing Timing Belt/Chain
Removal ProcedureRemove the primary camshaft drive chain tensioner. Refer toPrimary Camshaft Intermediate Drive Chain Tensioner Replacement.Remove the primary camshaft drive chain lower guidebolts.Remove the primary camshaft drive chain lower guide.Installation ProcedurePosition the primary camshaft ...
