Chevrolet Equinox Service Manual: Crankshaft Balancer Installation Engine Block Cylinder Block Crankshaft
Special ToolsEN 41998-B Crankshaft Balancer InstallerEN 45059 Angle MeterEN 46106 Engine Flywheel Holding Tool
For equivalent regional tools, refer toSpecial Tools.

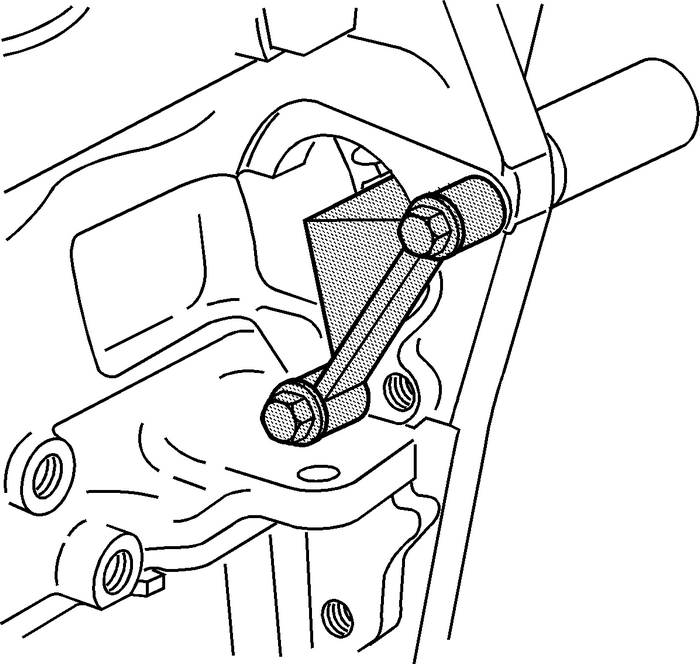
The EN 46106 toolmust be installed onto the flywheel.Use the EN 41998-B installer, nut, bearing and washer to install the crankshaft balancer.

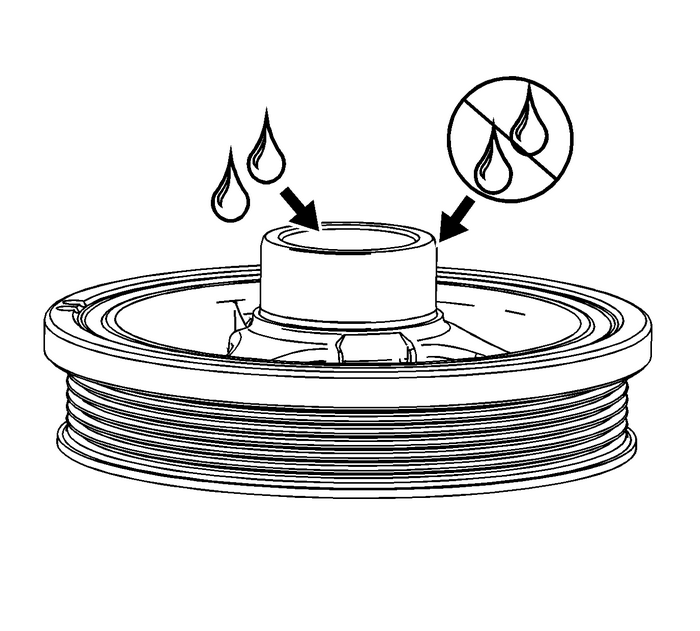
Note:Do not lubricate the crankshaft front oil seal or crankshaft balancer sealing surfaces.The crankshaft balancer is installed into a dry seal.
Apply lubricant to the inside of the crankshaft balancer hub bore.
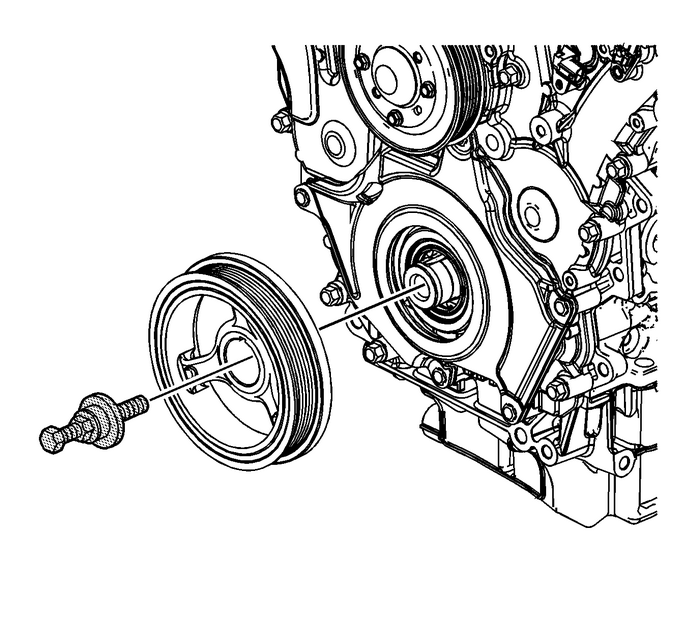
Place the crankshaft balancer in position on the crankshaft.Thread the EN 41998-B installerin the crankshaft. Ensure you engage at least 10-threads of the EN 41998-B installerbefore pressing the crankshaft balancer in place.Push the crankshaft balancer into position by tightening the nut on the J 41998-B installeruntil the large washer bottoms out on the crankshaft end.Remove the EN 41998-B installer.

Caution:This vehicle is equipped with torque-to-yield or single use fasteners. Install a NEWtorque-to-yield or single use fastener when installing this component. Failure toreplace the torque-to-yield or single use fastener could cause damage to the vehicleor component.
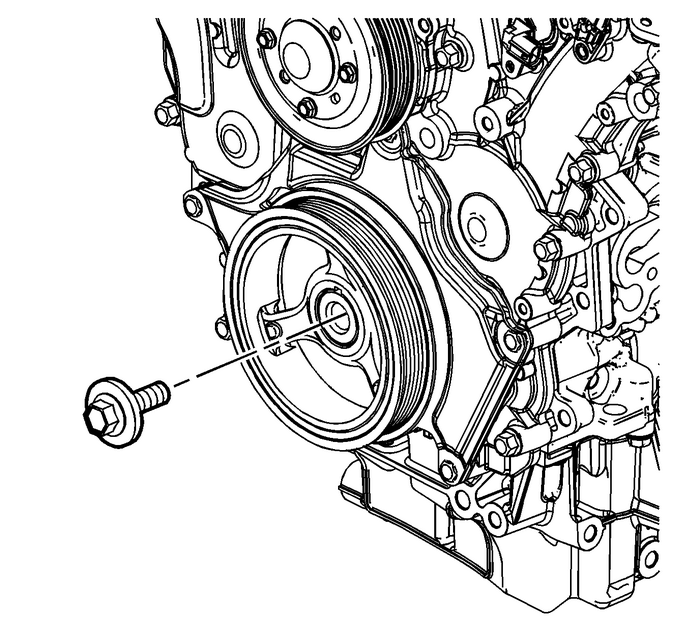
Install the NEW crankshaft balancer bolt.Caution:Refer toFastener Caution.
Tighten the crankshaft balancer bolt.Tighten the crankshaft balancer bolt to 100-Y (74-lb-ft).Tighten the crankshaft balancer bolt an additional 150-degreesusing the EN 45059 meter.
Remove the EN 46106 tool.
 Valve Stem Oil Seal and Valve Spring Replacement - Left Side Valvetrain Valve Actuating Assembly
Special ToolsEN-39313 Spark Plug Port AdapterEN-46106 Flywheel Holding ToolEN-46110 On-Vehicle Valve Spring CompressorEN-46116 Valve Stem Seal Remover/InstallerFor equivalent regional tools, refer toS ...
 Crankshaft Rear Oil Seal Replacement Engine Block Seals and Gaskets
Special ToolsEN-42067Rear Main Seal InstallerFor equivalent regional tools, refer toSpecial Tools.Removal ProcedureRemove the flywheel. Refer toEngine Flywheel ReplacementNote:Do not damage the outsid ...
Other materials:
Oil Pump Suction Pipe and Screen Cleaning and Inspection Engine Lubrication Oil Pump
Cleaning ProcedureClean the oil pump pipe and screen with solvent.Warning:Refer toSafety Glasses Warning.Dry the oil pump pipe and screen with compressed air.Inspection ProcedureInspect the mounting surface-(1) for possibleleakage paths.Inspect the oil pump pipe tube-(2) for cracks,imperfections and ...
