Chevrolet Equinox Service Manual: Liftgate Window Replacement Trunklid/Tailgate/Cargo Doors
Special ToolsJ 24402-A Glass Sealant (Cold Knife) RemoverJ 39032 Stationary Glass Removal ToolUse a urethane adhesive systems which meet GM Specification GM-3651GRemoval Procedure
Warning:Refer toCracked Window Warning.
Note:Before cutting out a stationary window, apply a double layer of masking tape aroundthe perimeter of the painted surfaces and the interior trim.
Open the liftgate.Remove the liftgate lower trim finish panel. Refer toLiftgate Lower Trim Finish Panel ReplacementandLiftgate Lower Trim Finish Panel Replacement.Disconnect the electrical connectors from the liftgate window defogger bus bar.Remove the rear window wiper arm. Refer toRear Window Wiper Arm Replacement.Remove the rear end spoiler. Refer toRear End Spoiler Replacement.Warning:Refer toDefroster Outlet Warning.
Cover the following parts to protect from broken glass:Upper dash padDefroster outlets and A/C outletsSeats and carpeting
Warning:Refer toGlass and Sheet Metal Handling Warning.
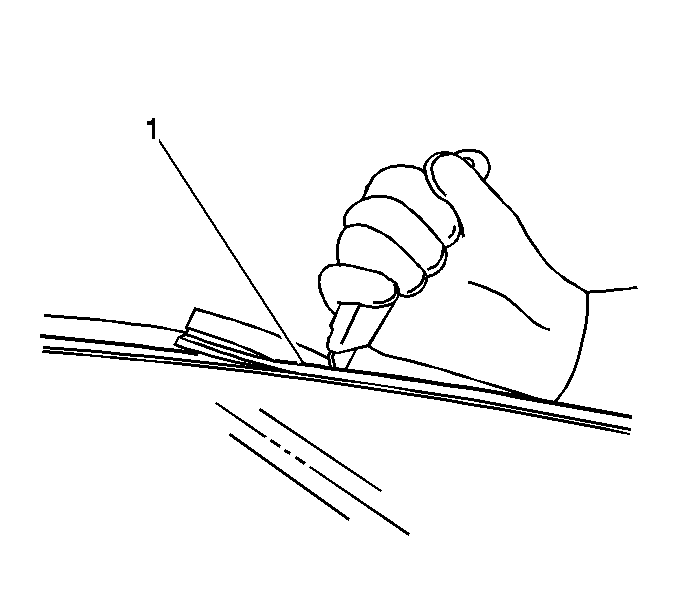
Using a utility knife, carefully cut the lace-(1) from the sides and the top edgeof the window to access the urethane adhesive bead, if equipped.
Note:Keep the cutting edge of the tool against the window.
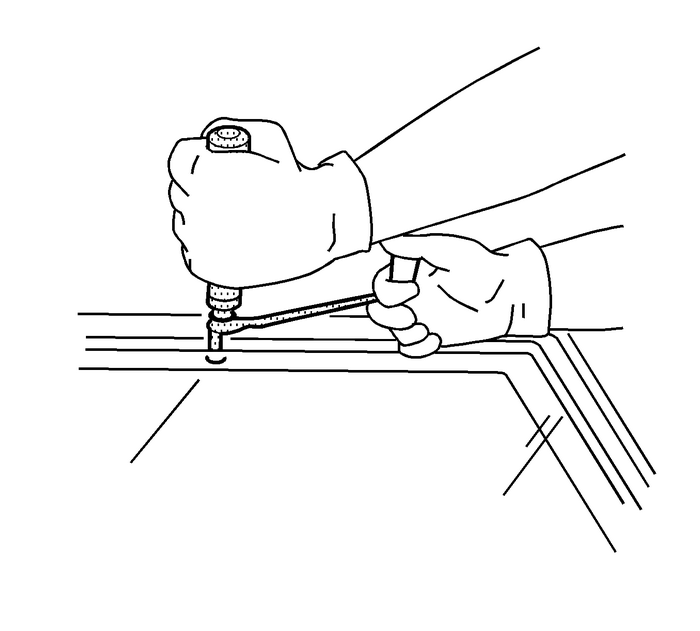
Remove the window from the urethane adhesive.Leave a base of urethane approximately 2-mm (0.078-in) on the pinch-weld flange.The only suitable lubrication is clear water.Use J 24402-A glass sealant (cold knife) remover, J 39032 stationary glass removal tool or equivalent in order to remove the window.Note:Keep the cutting edge of the knife/tool against the window. Do this from inside thevehicle.
If necessary, use a long utility knife or similar tool to remove the bottom cornersof the window from the urethane adhesive.
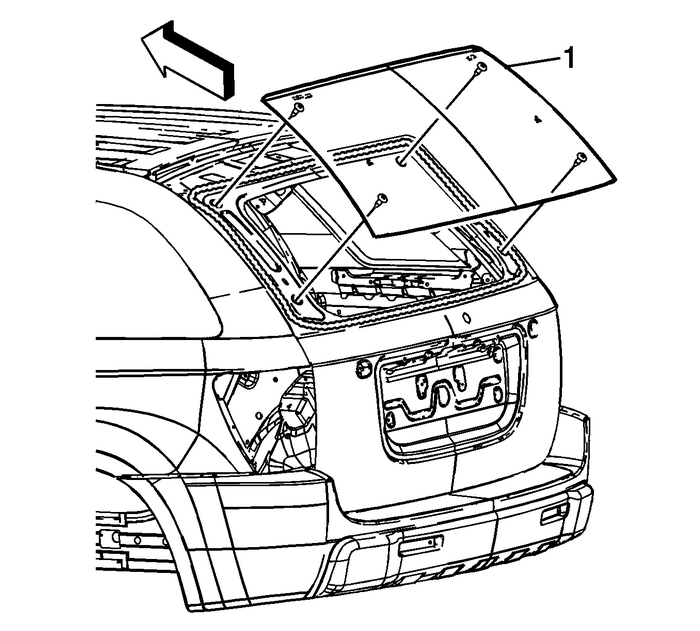
With the aid of an assistant, remove the window-(1) from the vehicle.Installation ProcedureInstall the liftgate window into the opening. Refer toAdhesive Installation of Liftgate Windows.Install the rear end spoiler. Refer toRear End Spoiler Replacement.Install the rear window wiper arm. Refer toRear Window Wiper Arm Replacement.Connect the liftgate window defogger electrical connectors to the bus bar.Install the liftgate lower trim finish panel. Refer toLiftgate Lower Trim Finish Panel ReplacementandLiftgate Lower Trim Finish Panel Replacement.Remove the double layer of masking tape around the perimeter of the painted surfacesand the interior trim.Close the liftgate.
 Seat Belt Latch Stop Installation Doors Door Assembly Latch and Striker
Seat Belt Latch Stop InstallationCalloutComponent NamePreliminary ProcedureLocate the hole in the seat belt webbing where the originalseat belt stop button was located.If the original hole in the seat ...
 #PI0018B: Front or Rear Side Door Window Binds, Moves Slowly, Makes Rattle/Squeak Noise, Poor Fit/Misalignment or is Inoperative - (Nov 8, 2013) Doors
Subject:Front or Rear Side Door Window Binds, Moves Slowly, Makes Rattle/Squeak Noise, PoorFit/Misalignment or is InoperativeModels: 2008-2014 GM Cars and Light Duty Trucks This PI has been revis ...
Other materials:
Mild Steel
This information provides repair recommendations and generalguidelines for steel classified as Mild Steel. This type of steelnormally has a tensile strength less than 270-MPa. Thisincludes the common steel names of:Mild SteelBake Hardenable Steel (BH)Solid Solution Strengthened SteelGeneral Motors r ...
