Chevrolet Equinox Service Manual: Rear Object Sensor Housing Replacement
Removal Procedure
The housings are adhesively retained to the backside of thefascia and must be removed prior to paint refinish operations everytime the fascia is refinished due to paint bridging concerns.Adhesive tape cannot be removed and re-used with retentionconfidence. Thus the rear object sensor housing is considered aonetime use application, requiring that all 4 housings be replacedevery time the fascia is refinished.
Remove the rear fascia. Refer toRear Bumper Fascia Replacement.Remove the rear object sensor. Refer toRear Parking Assist Alarm Sensor Replacement.
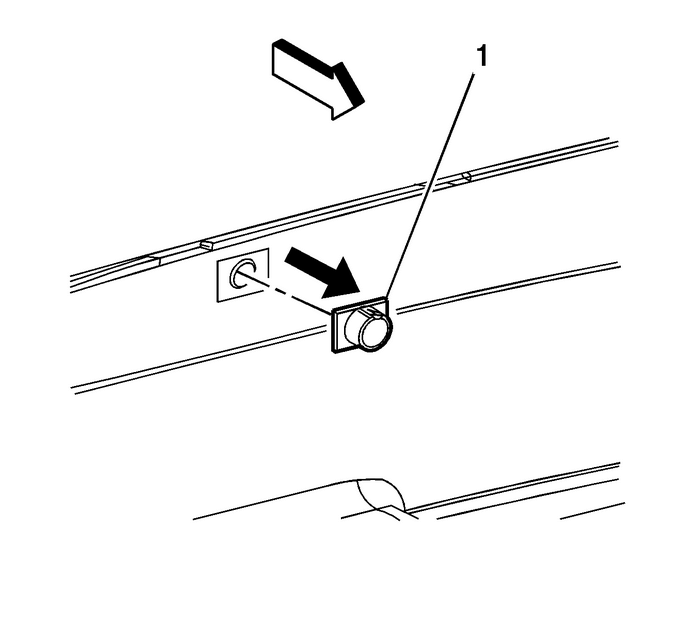
Remove the sensor housing-(1) from thefascia.Remove all remaining adhesive.Installation Procedure
Important:The adhesive and mating surfaces temperature must be between19–43°C (66–110°F).
Clean the sensor housing mating surface of the fascia with alint-free rag using a naptha solvent or equivalent.Mating surface must be dry before applying adhesionpromoter.
Important:Adhesion promoter MUST be used prior to installing the newsensor housing.
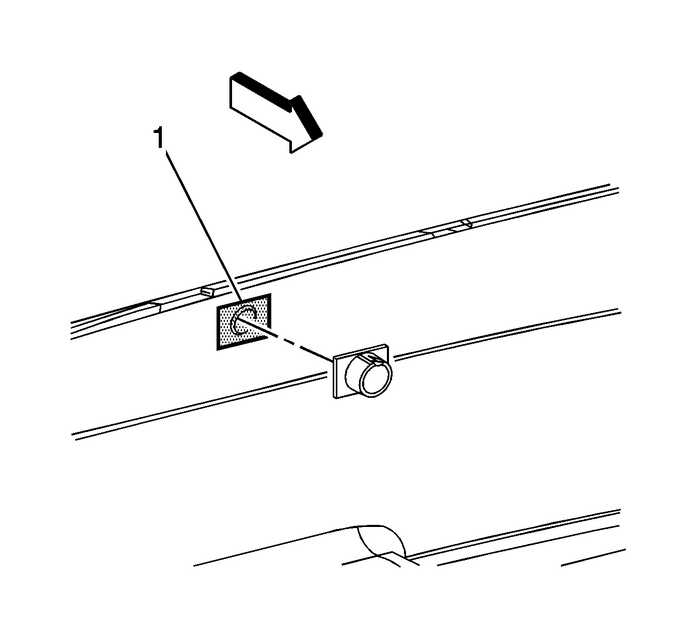
Apply adhesion promoter 3M Products P/N 06396 or equivalentto the sensor housing mating surface -(1) of thefascia.Remove the protective paper backing from the sensorhousing.
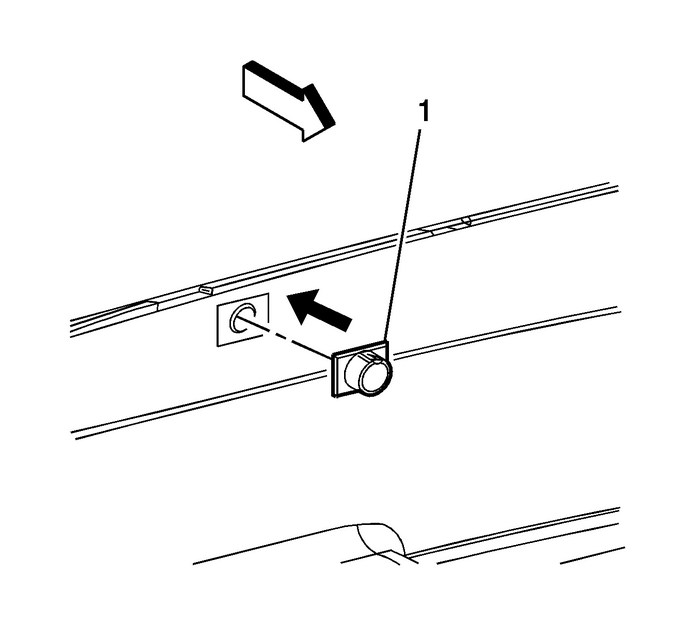
Position the sensor housing-(1) to thefascia.

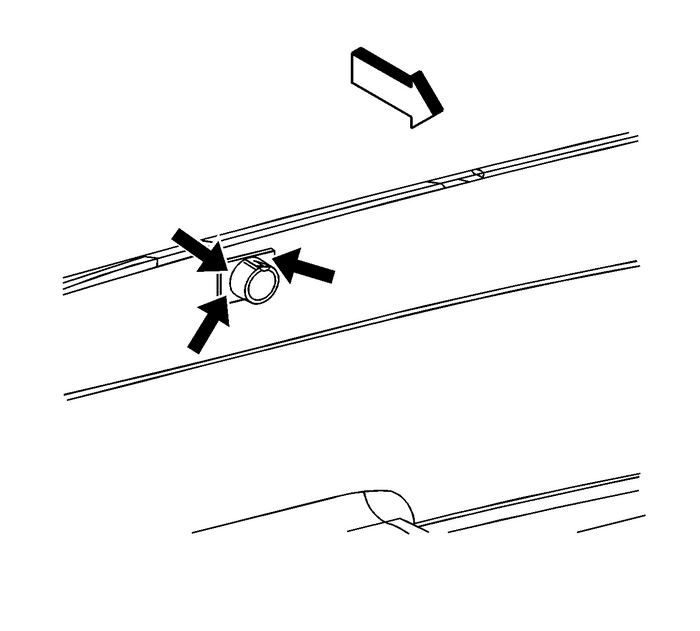
Press firmly to secure the sensor housing to thefascia.Install the rear object sensor. Refer toRear Parking Assist Alarm Sensor Replacement.Install the rear fascia. Refer toRear Bumper Fascia Replacement.
 Object Detection Description and Operation (Rear Vision Camera, UVC)
Rear Vision Camera System OperationThe rear vision camera system consists of a video camera located at the rear of thevehicle and the radio.When the transmission is placed into REVERSE, a 12-volt sign ...
 Object Detection Description and Operation (Side Blind Zone Alert, UFT)
Side Blind Zone Alert Block DiagramB218RSide Object Sensor Module - RightA9BOutside Rearview Mirror - PassengerA11RadioB218LSide Object Sensor Module - LeftA9AOutside Rearview Mirror - DriverK40Seat M ...
Other materials:
Adhesives, Fluids, Lubricants, and Sealers Engine Control
Adhesives, Fluids, Lubricants, and SealersApplicationType of MaterialGM Part NumberAnti-Seize CompoundLubricantGM-P/N-88862477 (Canadian-P/N-88862478)Camshaft Gear Access Hole PlugSealantGM-P/N-12346004 (Canadian-P/N-10953480)Coolant Temperature Sensor ThreadsSealantGM-P/N-12346004 (Canadian-P/N-109 ...
