Chevrolet Equinox Service Manual: Rail Replacement - Rear Section
Removal Procedure
Warning:Refer toApproved Equipment for Collision Repair Warning.
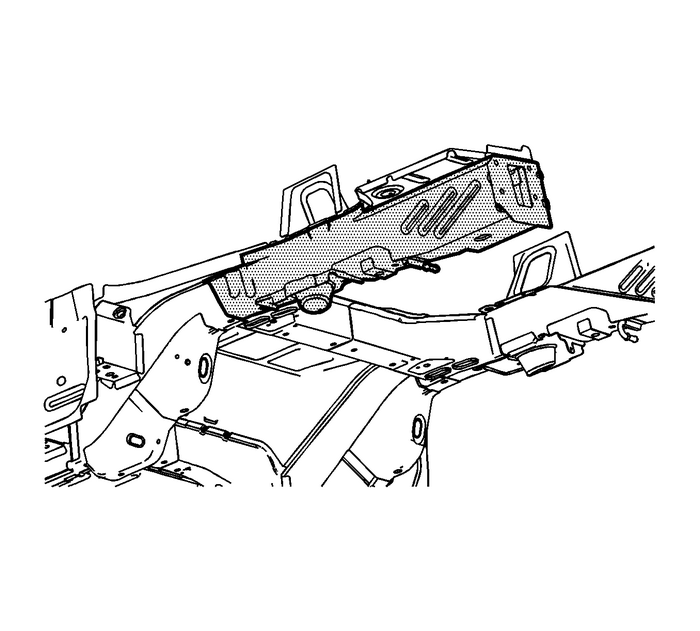
Disable the supplemental inflatable restraint (SIR) system.Refer toSIR Disabling and Enabling.Disconnect the negative battery cable. Refer toBattery Negative Cable Disconnection and Connection.Remove all related panels and components.Repair as much of the damage as possible to factoryspecifications. Refer toDimensions - Body.Note the location and remove the sealers and anti-corrosionmaterials from the repair area, as necessary. Refer toAnti-Corrosion Treatment and Repair.
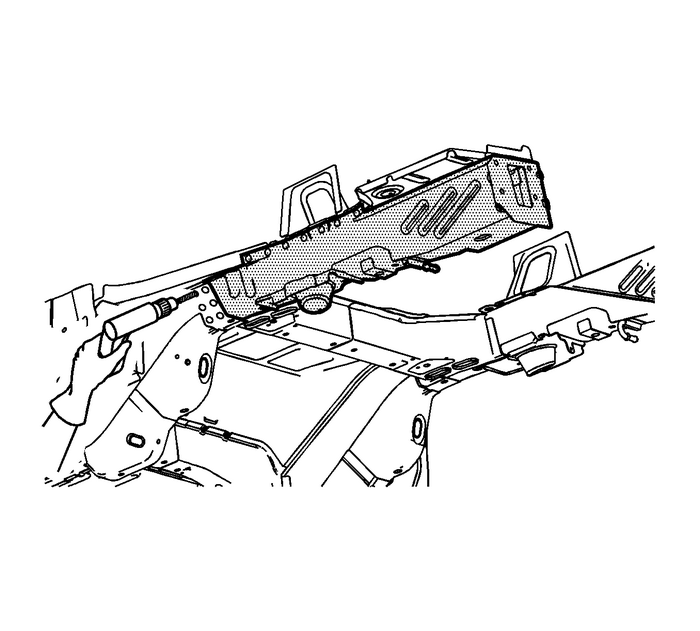
Note:Do not damage any inner panels or reinforcements.
From inside of the vehicle, locate and drill out all factorywelds. Note the number and location of the welds for installationof the rear rail lower – half.Remove the No.-5 crossbar.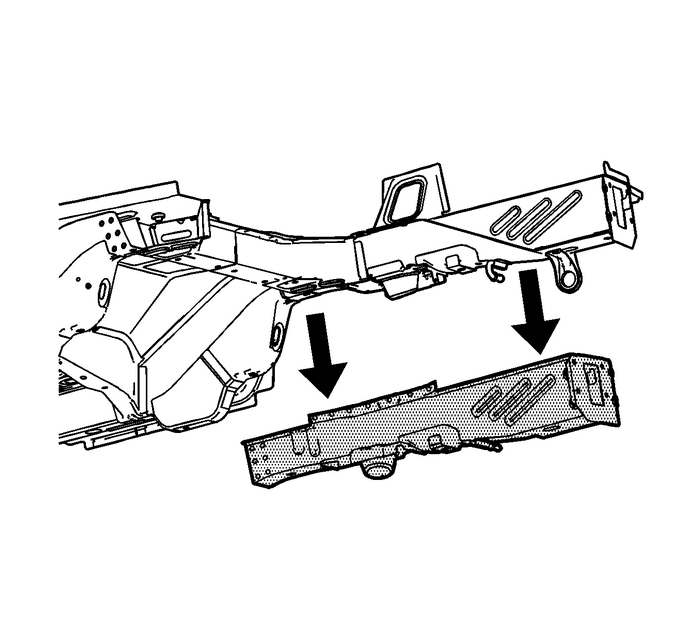
Remove the damaged rear rail lower – sectionInstallation Procedure
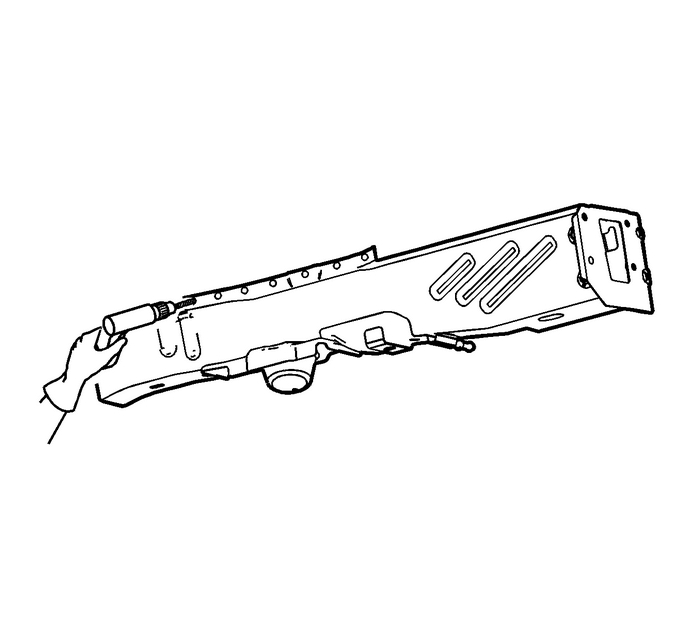
Note:If the location of the original plug weld holes can not bedetermined, space the plug weld holes every 40-mm(1-1/2-in) apart.
Some panels may have structural weld-thru adhesive. It isnecessary to replace the weld-thru adhesive with an additional spotweld between each factory spot weld.
Drill 8-mm (5/16-in) plug weld holes inthe service part as necessary in the locations noted from theoriginal panel.Prepare all mating surfaces as necessary.Apply GM–approved Weld-Thru Coating or equivalentto all mating surfaces. Refer toAnti-Corrosion Treatment and Repair.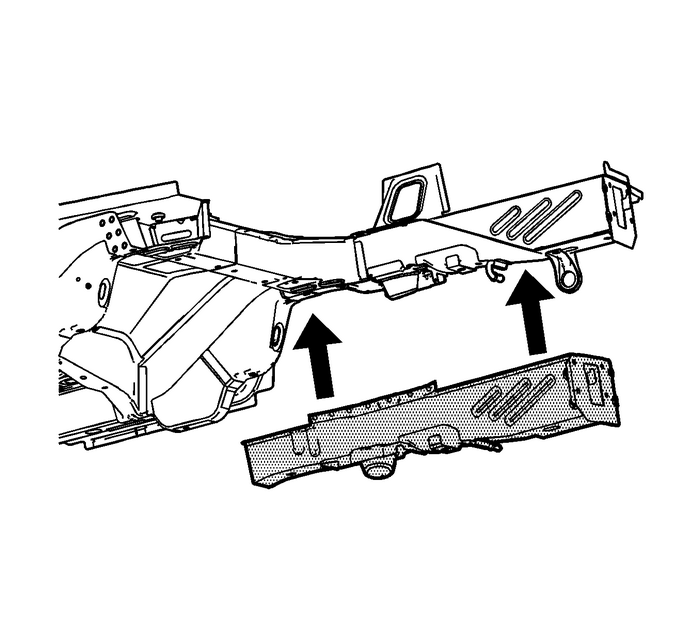
Position the rear rail lower – rear section, rearrail upper, and No.-5 crossbar to the vehicle using3-dimensional measuring equipment. Clamp the parts intoplace.
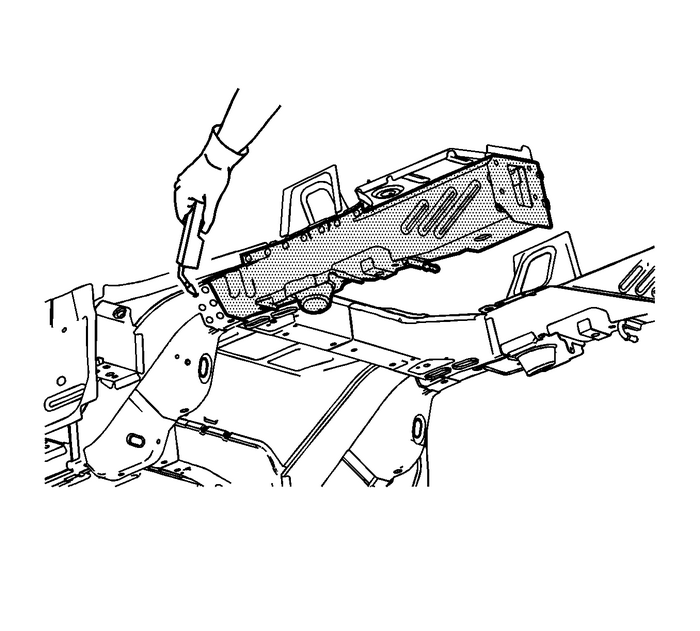
Plug weld accordingly.Clean and prepare all welded surfaces.Apply the sealers and anti-corrosion materials to the repairarea, as necessary. Refer toAnti-Corrosion Treatment and Repair.Paint the repair area. Refer toBasecoat/Clearcoat Paint Systems.Install all related panels and components.Connect the negative battery cable. Refer toBattery Negative Cable Disconnection and Connection.Enable the SIR system. Refer toSIR Disabling and Enabling.
 Roof Outer Panel Replacement
Removal ProcedureThis repair procedure includes an installation procedure foreither metal-inert gas welding or adhesive bonding.Warning:Refer toApproved Equipment for Collision Repair Warning.Warning: ...
 Rocker Inner Panel Reinforcement Replacement
Removal ProcedureWarning:Refer toApproved Equipment for Collision Repair Warning.Warning:Refer toGlass and Sheet Metal Handling Warning.Disable the SIR system. Refer toSIR Disabling and Enabling.Disco ...
Other materials:
Horn Replacement (Right Hand) Horn
Horn ReplacementCalloutComponent NamePreliminary ProcedureRemove the right front wheelhouse liner. Refer toFront Wheelhouse Liner Replacement.Remove the intake air duct. Ref toIntake Air Duct Replacement1Horn BoltCaution:Refer toFastener Caution.Tighten 10-Y (89-lb-in)2HornProcedureDisconnect the el ...
