Chevrolet Equinox Service Manual: Front Wheel Drive Shaft Outer Joint and Boot Replacement Wheels
Special ToolsCH-48894Wheel Drive Shaft Boot Clamp PliersJ-35910Drive Axle Seal Clamp Pliers
Note:The outer Constant Velocity Joint is not service separately.If the CV joint is found to have excessive wear or damage, replacethe wheel drive shaft as an assembly.
Disassemble ProcedureRemove the wheel drive shaft from the vehicle. Refer toFront Wheel Drive Shaft Replacement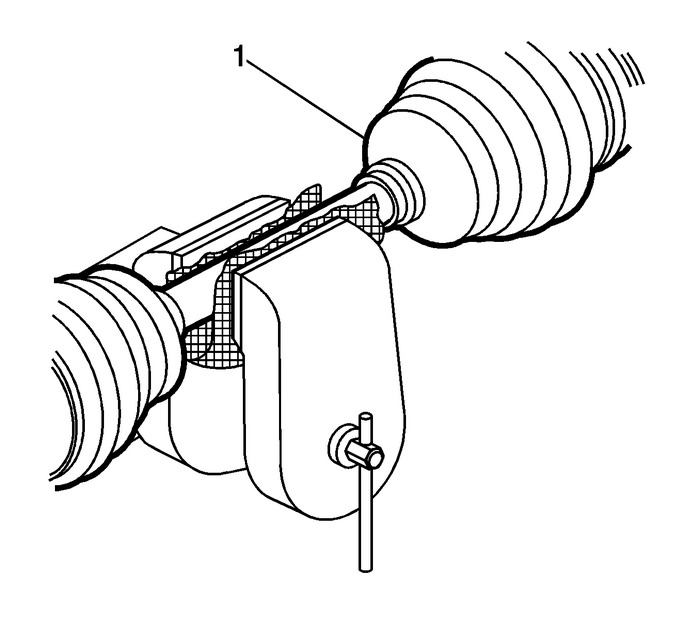
Clamp the drive axle shaft in a soft jawed vice.
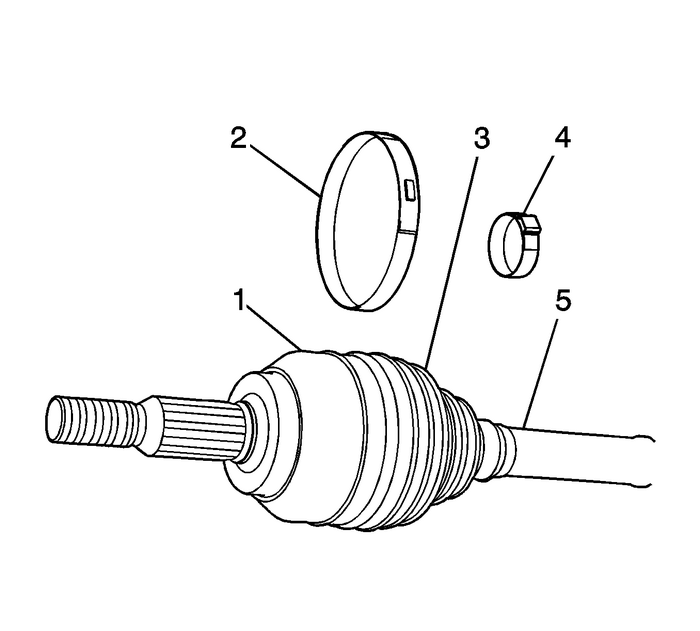
Caution:Do not cut through the wheel drive shaft inboard or outboardboot during service. Cutting through the boot may damage thesealing surface of the housing and the tripot or the constantvelocity joint bushing. Damage to the sealing surface may lead towater and dirt intrusion and premature wear of the constantvelocity joint.
Use a flat-bladed tool, remove the bootclamp-(2)-from the constantvelocity-(CV)-joint-(1)-andthe boot-(3).Using a pair of side cutters, remove and discard the bootclamp-(4)-from theboot-(3)-and the wheel driveshaft-(5). Replace with NEW clamps.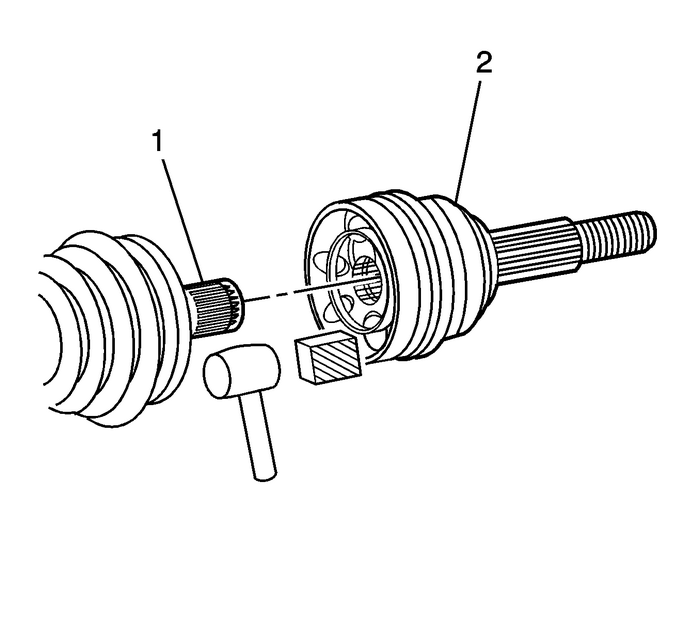
Using a block of wood and a hammer, remove the CVjoint-(2) from the wheel driveshaft-(1).
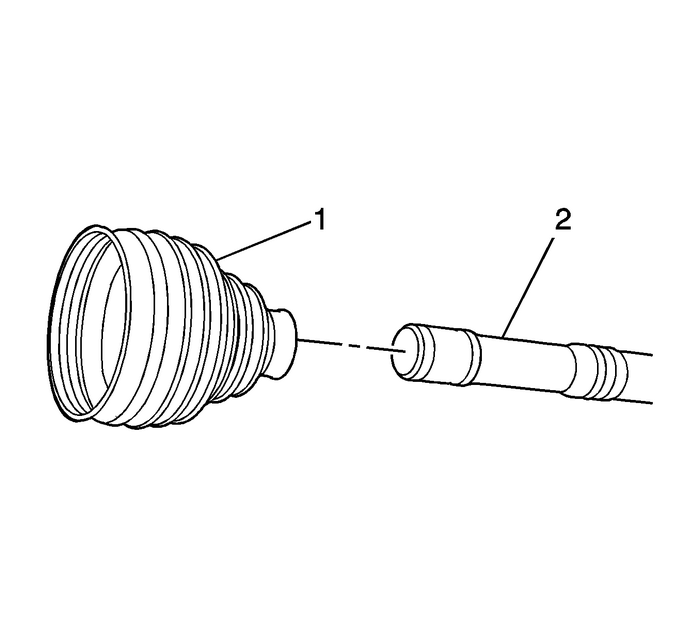
Remove the boot-(1)-from the wheeldrive shaft-(2).Inspect the outer CV joint for damage and wear. Refer toWheel Drive Shaft Outer Joint Inspection.Assemble Procedure

Position the boot-(1)-on the wheeldrive shaft-(2).
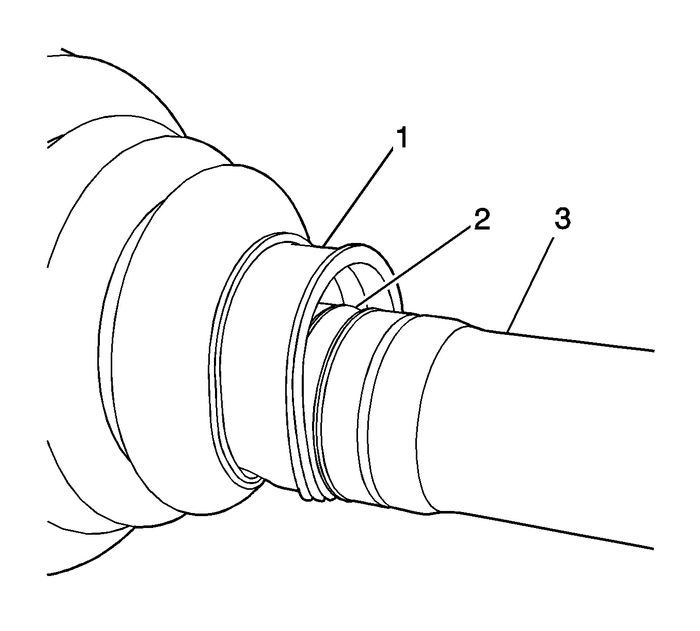
Ensure that the boot-(1)- is properlyseated in the groove-(2)-in the wheel driveshaft-(3).
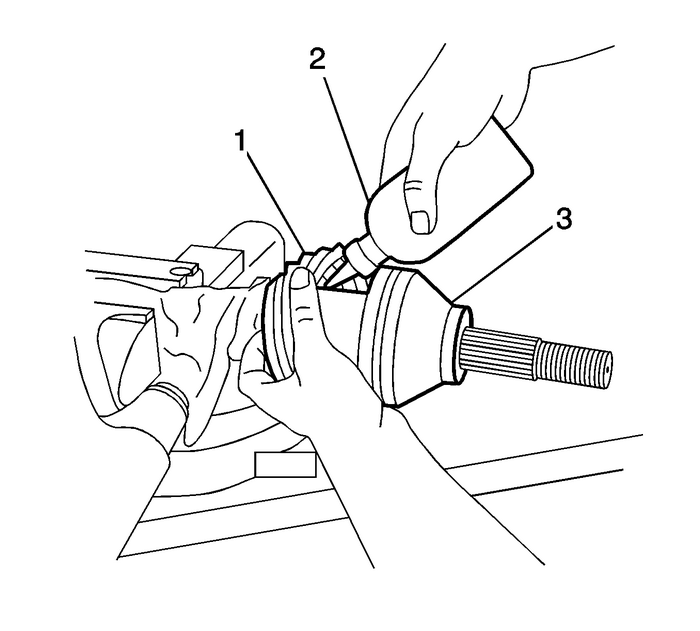
Place approximately half thelubricant-(2)-inside the CV jointboot-(1)-and the other half in the CVjoint-(3).
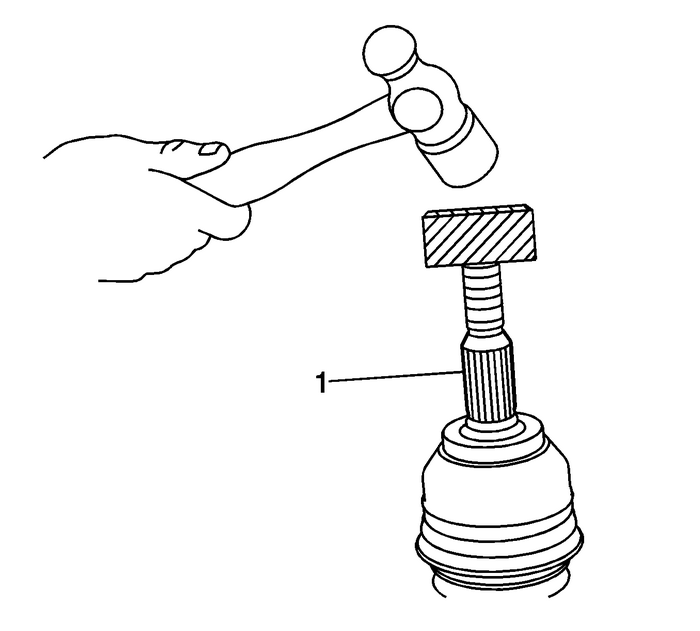
Using a block of wood and a hammer, install the CV joint onthe wheel drive shaft-(1).

Install the boot clamp-(4)-on theboot-(3)-and the wheel driveshaft-(5).Install the boot clamp-(2)-on theboot-(3)-and the CV jointhousing-(1).
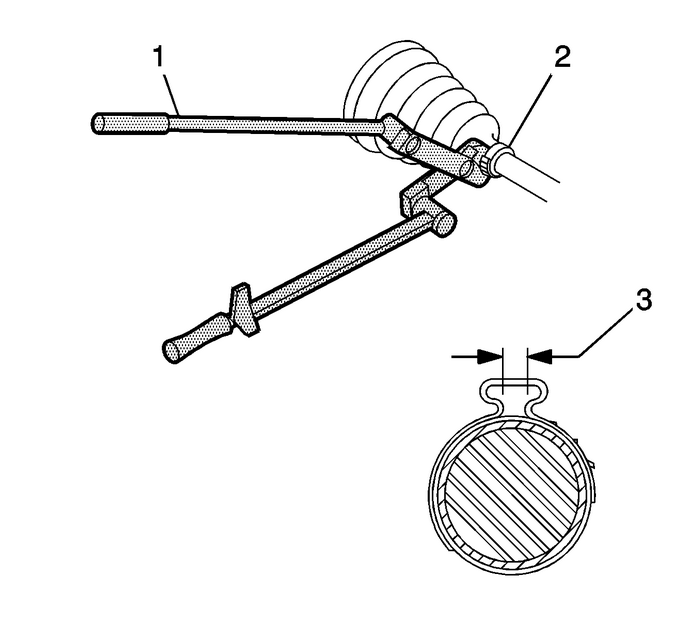
Note:Ensure that the boot clamp is properly positioned around theentire circumference of the boot.
Using theJ-35910pliers-(1), close theclamp-(2)-until thegap-(3)- measures2.15-mm(0.85-in).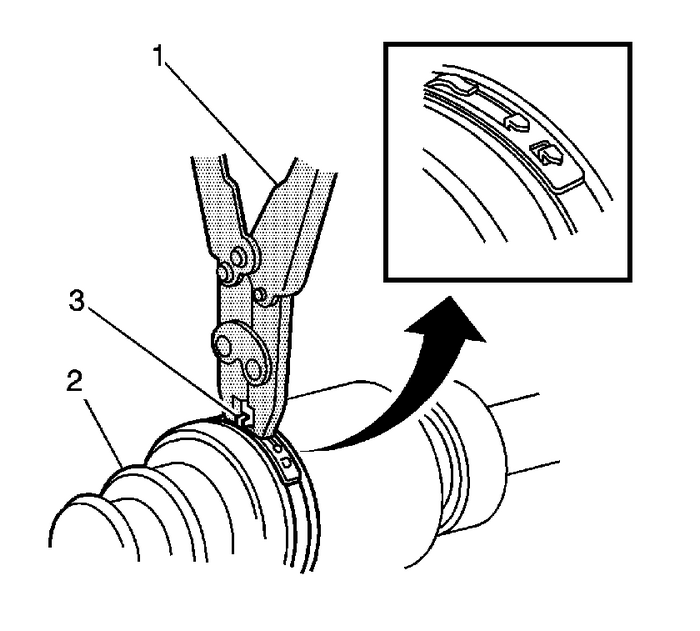
Note:Ensure that the boot clamp is properly positioned around theentire circumference of the boot.
Using theCH-48894pliers-(1), close the bootclamp-(3).Remove the wheel drive shaft from the bench vise.Move the CV joint in a circularmotion-4-to-5-times todistribute the lubricant.Install the wheel drive shaft in the vehicle. Refer toFront Wheel Drive Shaft Replacement. Setback Description Wheels
Setback applies to both the front and the rear wheels.Setback is the amount that one wheel may be aligned behind theother wheel. Setback may be the result of a road hazard or acollision. The first clu ...
 Tire and Wheel Assembly Balancing - On-Vehicle
Special ToolsEL-38792-AElectronic Vibration Analyzer(EVA)-2If after following the tire and wheel vibration diagnosticprocess, some amount of tire and wheel vibration is still evident,an on-vehicle hig ...
Other materials:
Air Inlet Grille Panel Extension Replacement (Terrain) Front Grille
Air Inlet Grille Panel Extension ReplacementCalloutComponent NamePreliminary ProcedureOpen and support hood in order to access the air inlet grillepanel extension.1Air Inlet Grille Panel ExtensionProcedureRelease the tabs securing the air inlet grille panelextension to the rear upper fender flange a ...
