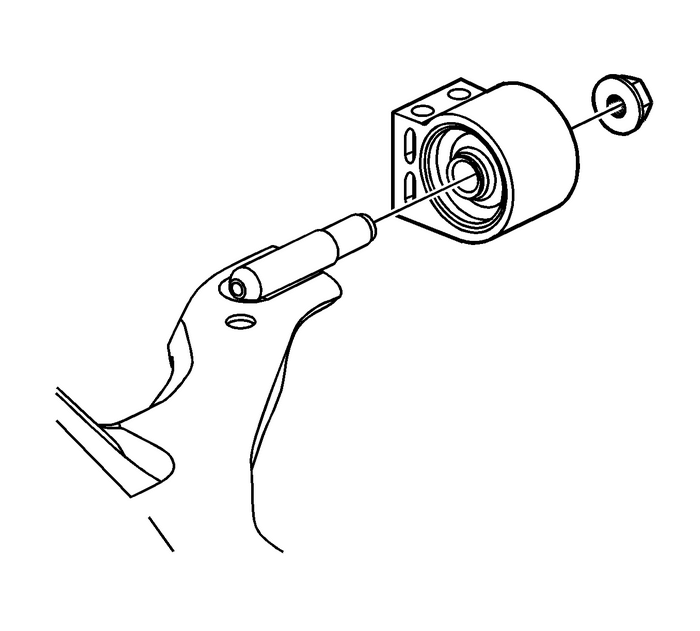
Chevrolet Equinox Service Manual: Front Lower Control Arm Bushing Replacement (Rear Bushing) Control Arms Lower Control Arm
Removal ProcedureRaise and support the vehicle. Refer toLifting and Jacking the Vehicle.Remove the front tire and wheel assembly. Refer toTire and Wheel Removal and Installation.Remove the lower control arm. Refer toLower Control Arm Replacement.

Remove the front lower control arm rear bushing nut.Remove the front lower control arm rear bushing.Installation Procedure

Install the front lower control arm rear bushing on the lower control arm.
Caution:Refer toFastener Caution.
Install the front lower control arm rear bushing nut and tighten to 150-Y (110-lb-ft).Install the lower control arm. Refer toLower Control Arm Replacement.Install the front tire and wheel assembly. Refer toTire and Wheel Removal and Installation. Rear Wheel Bearing and Hub Replacement Wheel Hub
Rear Wheel Bearing and Hub ReplacementCalloutComponent NamePreliminary ProceduresRaise and support the vehicle. Refer toLifting and Jacking the Vehicle.Remove the tire and wheel. Refer toTire and Whee ...
 Trailing Arm Bracket Replacement Control Arms
Removal ProcedureRaise and support the vehicle. Refer toLifting and Jacking the Vehicle.Remove the park brake cable from the trailing arm and fromthe frame. Refer toParking Brake Rear Cable Replacemen ...
Other materials:
Front Upper Grille Replacement (Terrain) Front Grille
Front Upper Grille ReplacementCalloutComponent NamePreliminary ProcedureRemove the front bumper fascia energy absorber. Refer toFront Bumper Energy Absorber Replacement.1Radiator Upper Grille Screw (Qty-:2)2Radiator Upper GrilleProcedureRelease all of the tabs securing the radiator upper grille toth ...
