Chevrolet Equinox Service Manual: Rear Side Door Outer Panel Replacement Doors
Removal Procedure
Warning:Refer toApproved Equipment for Collision Repair Warning.
Warning:Refer toGlass and Sheet Metal Handling Warning.
Note:Before beginning the repair, refer toMetal Panel Bondingfor proper adhesiveapplicator preparations and general information.
Disable the supplemental inflatable restraint (SIR) system.Refer toSIR Disabling and Enabling.Disconnect the negative battery cable. Refer toBattery Negative Cable Disconnection and Connection.Remove all related panels and components.Repair as much of the damage as possible to factoryspecifications. Refer toDimensions - Body.Remove the door assembly. Refer toRear Side Door Adjustment.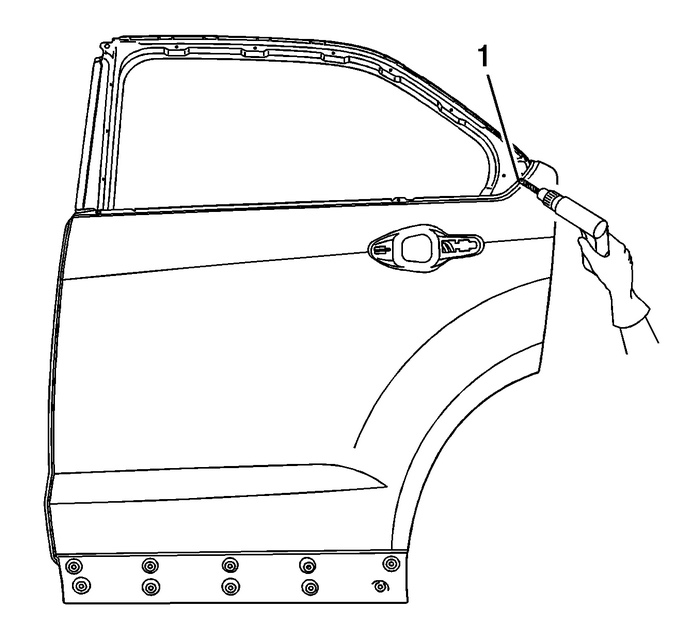
Locate and drill out all factory welds-(1). Notethe number and location of welds at the upper window.
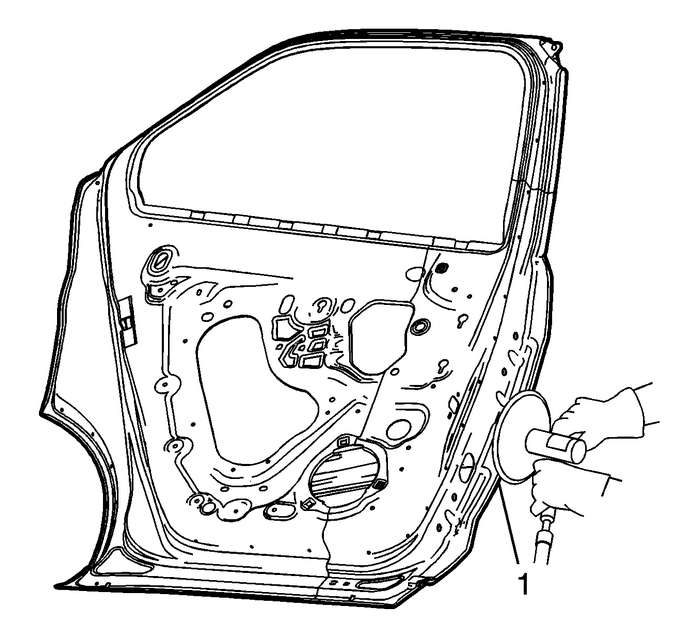
Grind the edges of the door outer panel to separate the outerdoor panel from the door shell-(1).
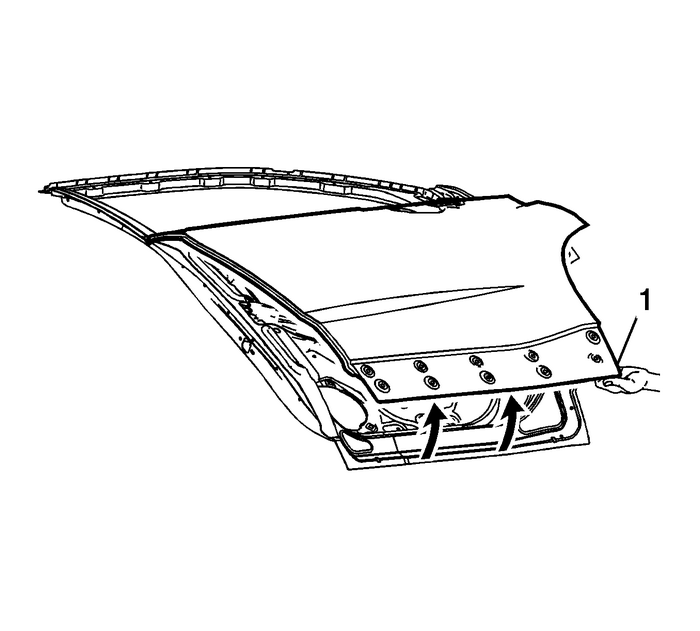
Warning:Inspection of the door guard beam for damage must beperformed before replacement of the door outer panel. If damage tothe door guard beam is found the door must be replaced. Failure todo so may compromise the structural integrity of the vehicle andmay cause personal injury if the vehicle is involved in acollision.
Remove the outer door panel (1).Remove the sealers and anti-corrosion materials from therepair area, as necessary. Refer toAnti-Corrosion Treatment and Repair.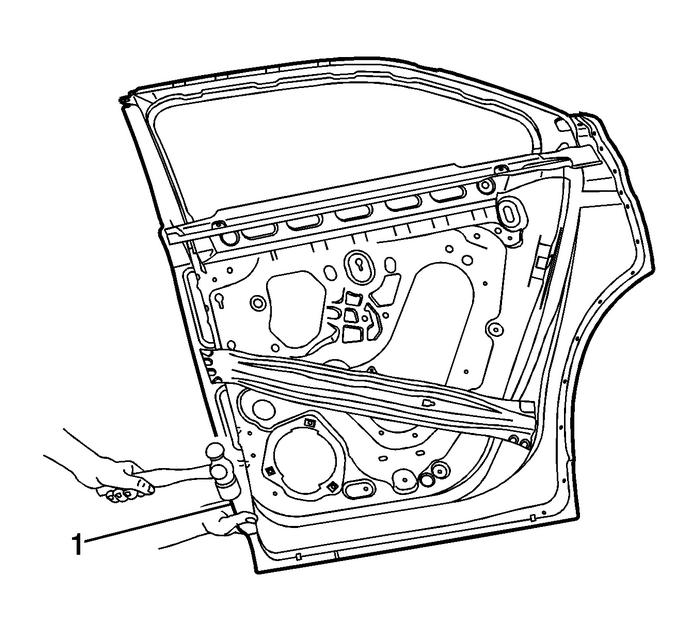
Straighten the edges of the door innerpanel-(1).Installation Procedure
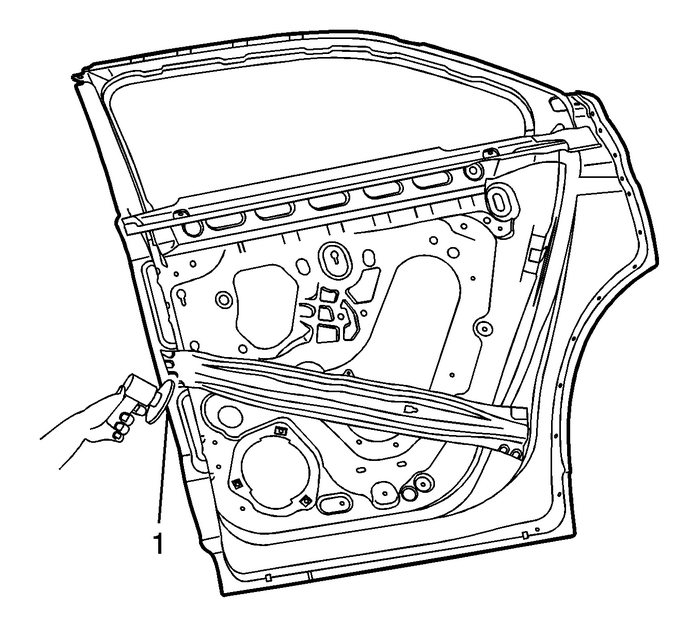
Using a grinding disk, grind the surface of the door shell,removing all adhesive-(1). Mate the flanges to the outerpanel.
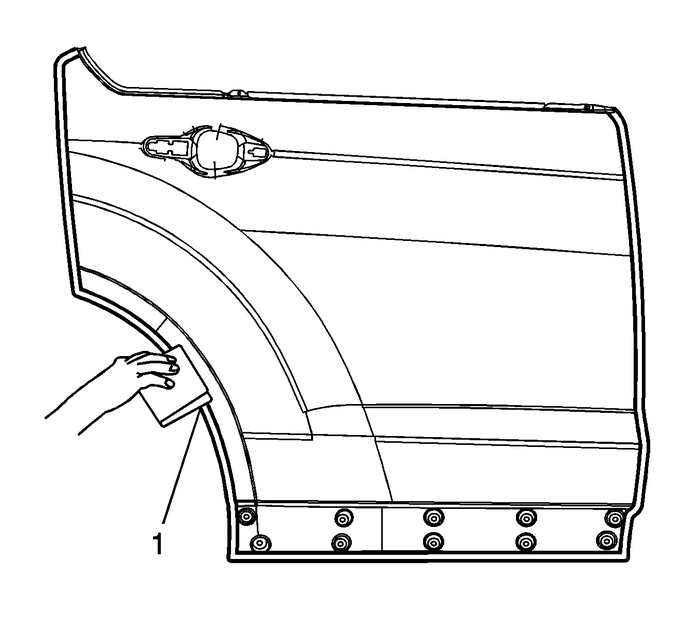
Scuff the opposing mating surfaces of the door outer panel toremove the gloss of the E-Coat-(1).
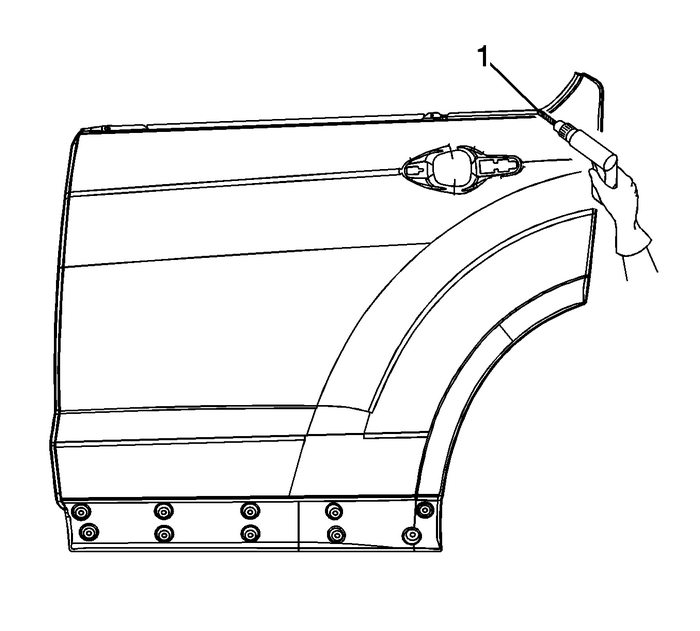
Note:If the location of the original plug welds cannot bedetermined or structural weld- thru adhesive was present, spaceplug weld holes every 40-mm (1 1/2-in)apart.
Drill 8-mm (5/16-in) plug weld holes asnecessary in the locations noted from the originalpanel-(1).Clean the mating surfaces.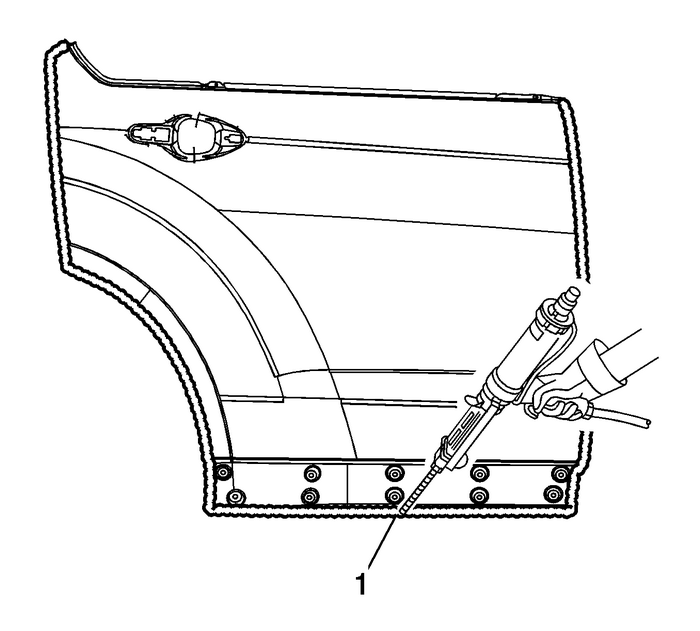
Note:The adhesive has a limited working time. Do not allow thedoor to totally cure off the vehicle, as proper alignment of thedoor outer panel to the door shell will be difficult.
Apply a 3–6-mm(1/8–1/4-in) bead of metal panel bondingadhesive GM P/N 12378566/7 (Canadian P/N 88901674/5) or equivalent,to both of the mating surfaces-(1).Using a small acid brush, spread a coat of adhesive to coverall the bare metal surfaces to ensure corrosion protection.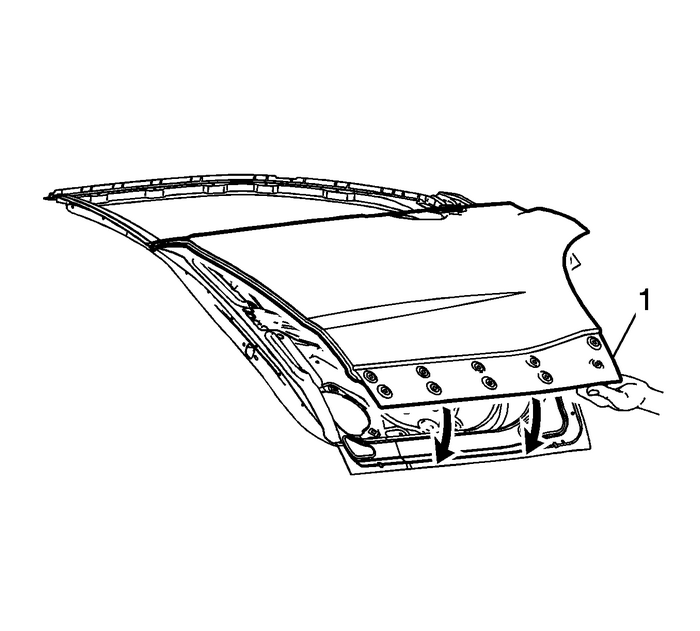
Install the door outer panel to the doorshell-(1).
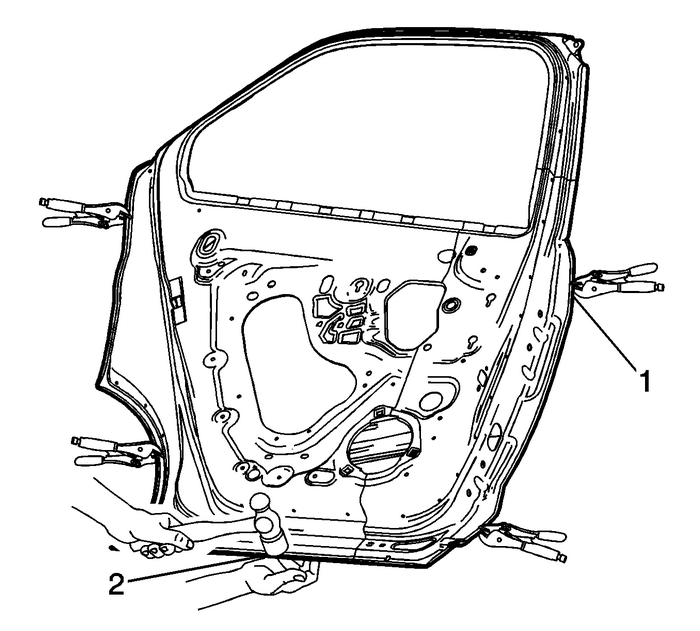
Note:Do NOT pull the panels apart after being joined together.Slide the panels against each other to realign the panels.
Clamp the door outer panel into position asrequired-(1).Using a hammer re-hem the hem flanges around the doorshell-(2).Continue to hammer in stages along the hem flanges.
Using lacquer thinner remove the excess adhesive from thedoor panel area.Install the door to the vehicle. Inspect the door outer panelfor proper alignment, adjust the alignment as required.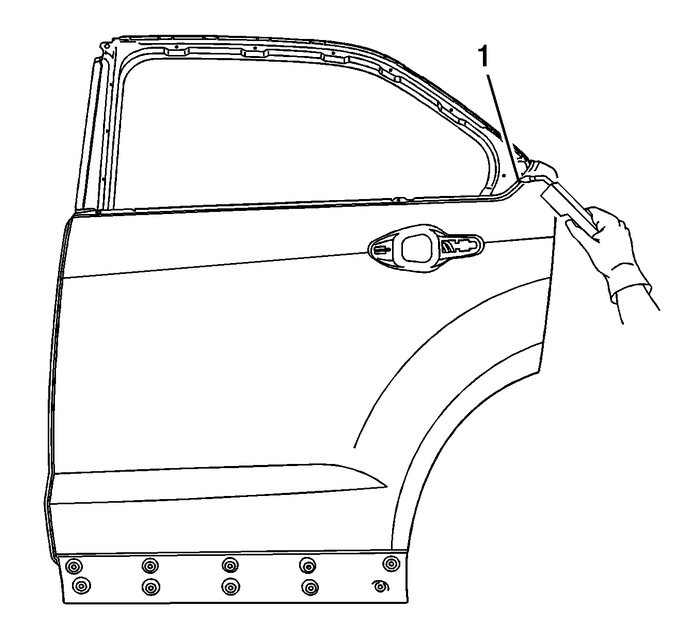
Using metal-inert gas (MIG), weld the door outer panel to thedoor frame in the locations noted at the upper doorframe-(1).Clean and prepare all welded surfaces.
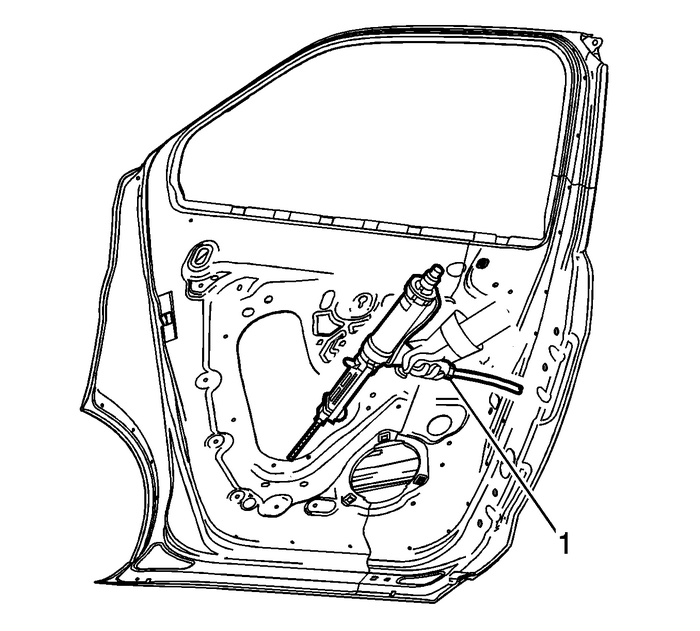
Apply Fusor super flexible anti-flutter foam-fast set, FusorP/N-121/124 or equivalent in4–5-evenly spaced locations between the doorouter panel and the impact beam-(1).Apply sealers and anti-corrosion materials to the repair areaas necessary. Refer toAnti-Corrosion Treatment and Repair.Paint the repaired area. Refer toBasecoat/Clearcoat Paint Systems.Install the door assembly. Refer toFront Side Door Replacement.Install all related panels and components.Connect the negative battery cable. Refer toBattery Negative Cable Disconnection and Connection.Enable the SIR system. Refer toSIR Disabling and Enabling.
 Remote Control Door Lock Receiver Replacement (Without UFL) Doors
Remote Control Door Lock Receiver ReplacementCalloutComponent NamePreliminary ProcedureRemove the inside rearview mirror mount plate cover.1Remote Control Door Lock ReceiverProcedureDisconnect the ele ...
 Seat Belt Latch Stop Installation Doors Door Assembly Latch and Striker
Seat Belt Latch Stop InstallationCalloutComponent NamePreliminary ProcedureLocate the hole in the seat belt webbing where the originalseat belt stop button was located.If the original hole in the seat ...
Other materials:
Driver or Passenger Seat Recliner Actuator Replacement Seats
Driver or Passenger Seat Recliner Actuator ReplacementCalloutComponent NameWarning:Refer toSIR Warning.Preliminary ProcedureRemove the driver or passenger seat. Refer toDriver or Passenger Seat Removal and Installation.Remove seat inner recliner finish cover. Refer toDriver or Passenger Seat Inner R ...
