Chevrolet Equinox Service Manual: Camshaft Cover Installation - Right Side Valvetrain Camshaft
Special Tools
EN-46101 Spark Plug Tube Seal Guide
For equivalent regional tools, refer toSpecial Tools.
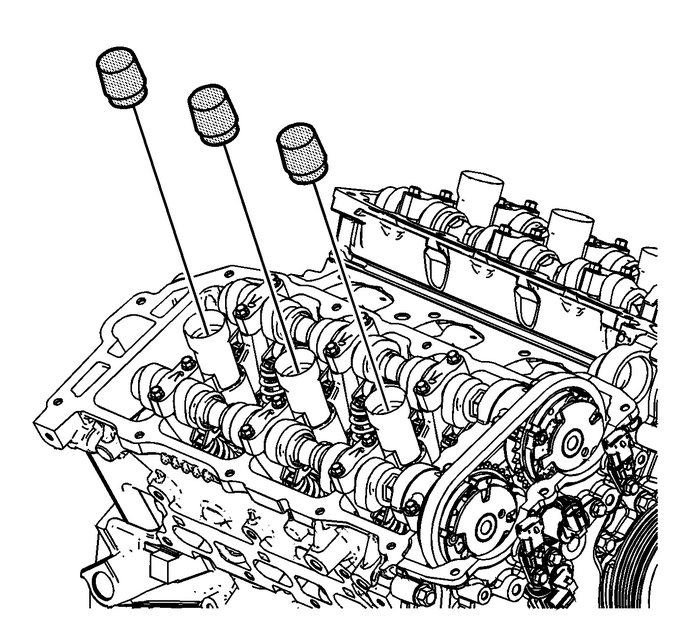
Install the EN-46101 guide onto the spark plug tubes of the right cylinder head.
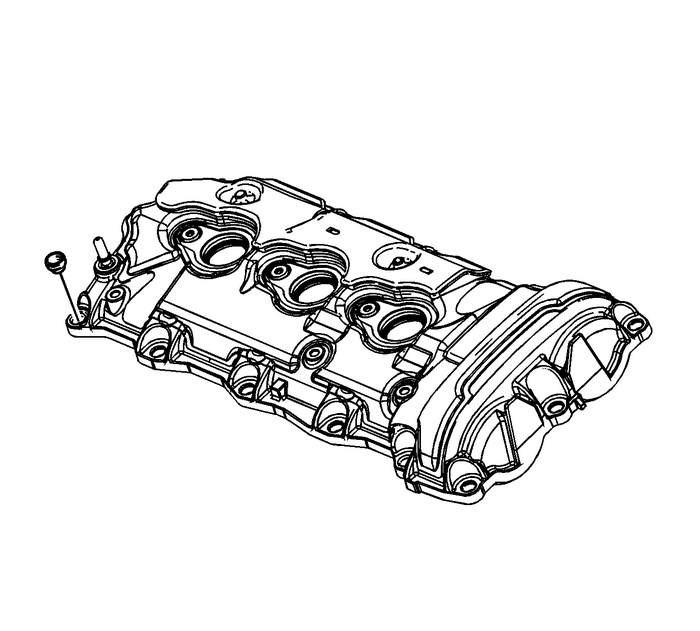
Install the NEW camshaft cover bolt grommets prior to installing the camshaft coverbolts.Wipe the camshaft cover sealing surface on the right cylinder head with a clean, lint-freecloth.
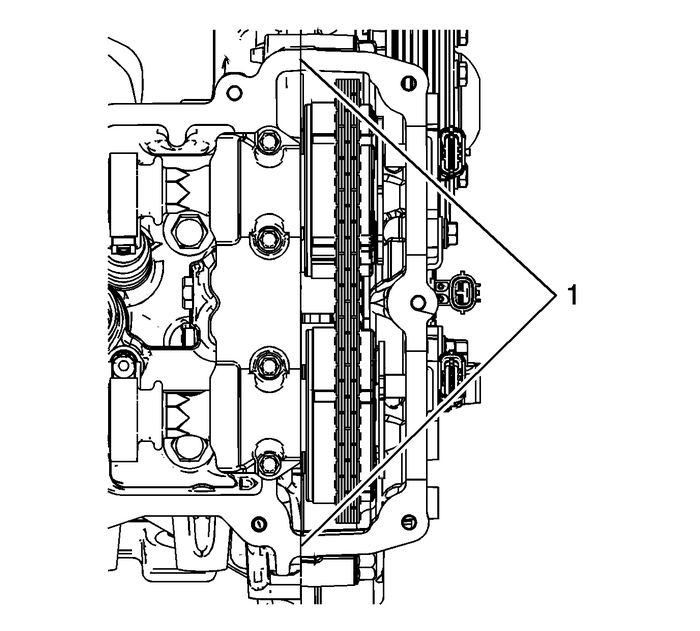
Place a bead 8-mm (0.3150-in) in diameter by 4-mm (0.1575-in) in height of RTV sealanton the engine front cover split lines-(1). Refer toAdhesives, Fluids, Lubricants, and Sealersfor recommended sealant.
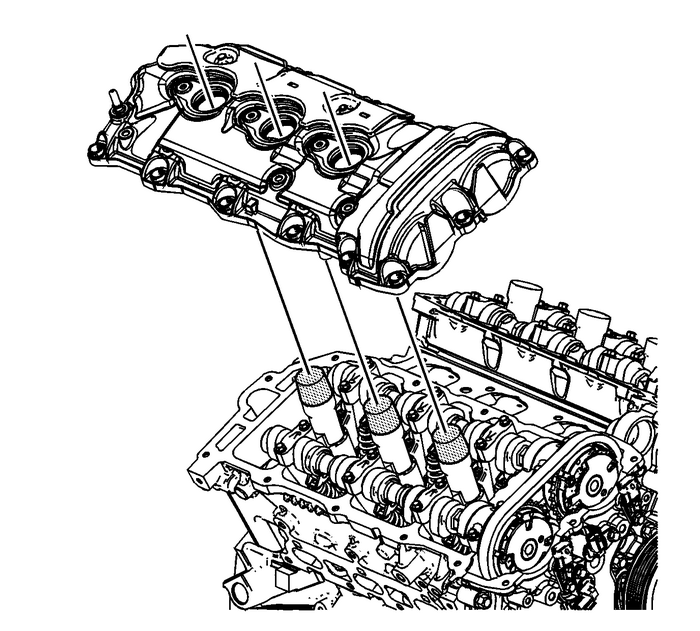
Place the right camshaft cover into position onto the right cylinder head.
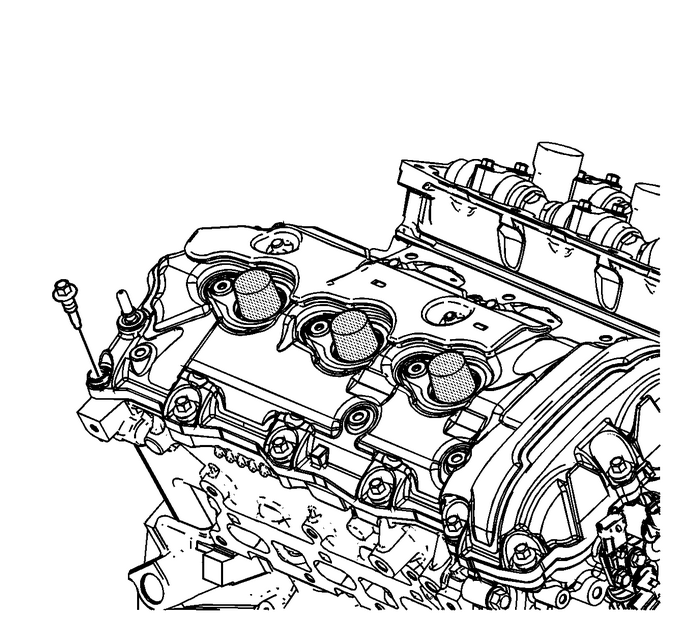
Loosely install the right camshaft cover bolts.
Caution:Refer toFastener Caution.
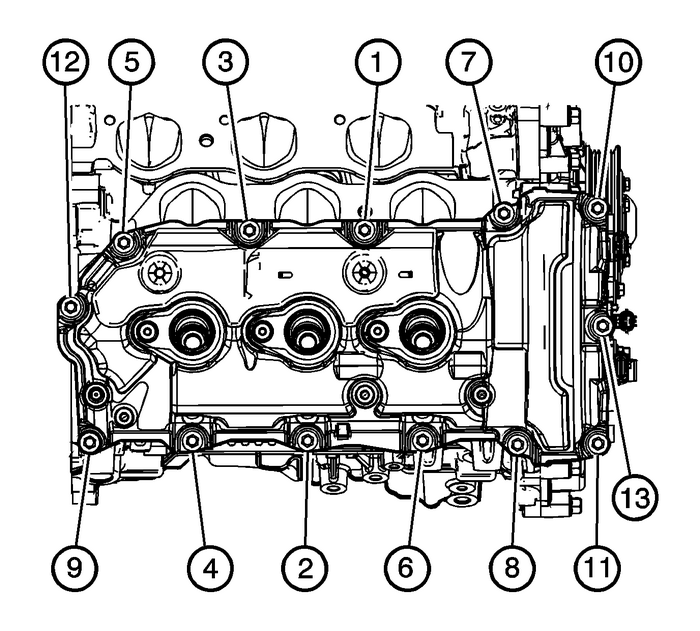
Tighten the right camshaft cover bolts in the sequence shown.Tighten the right camshaft cover bolts to 10-Y (89-lb-in).Tighten the right camshaft cover bolts a second pass to 10-Y (89-lb-in).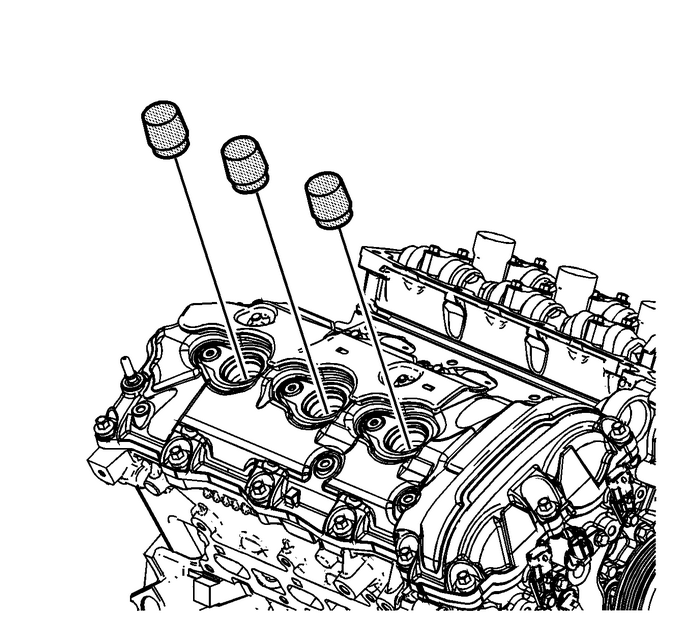
Remove the EN-46101 guide from the spark plug tubes of the right cylinder head.
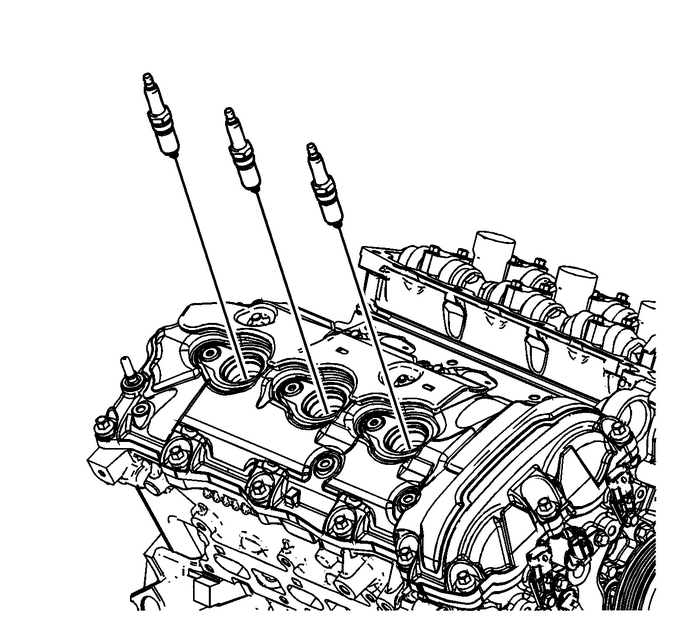
Install the NEW spark plugs into the right cylinder head and tighten to 18-Y (13-lb-ft).
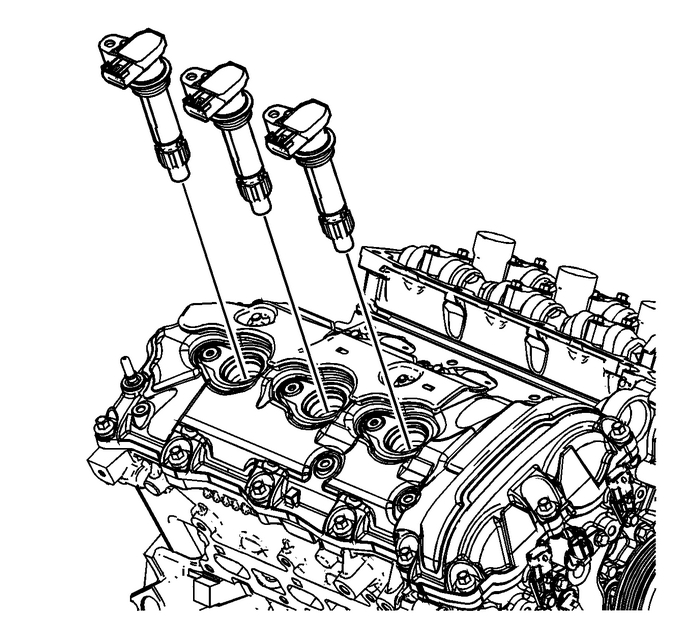
Inspect the inside of the ignition coil rubber boot for a thin, even coat of grease.If there is no grease present or additional grease is necessary, complete the followingprocedure:Apply a thin coating of dielectric grease evenly to the inside of the ignition coilrubber boot, up to a depth of 15-mm from the end of the boot. Refer toAdhesives, Fluids, Lubricants, and Sealers.Remove any excess grease from around the end of the boot, and ensure there is notan excessive amount within the boot.Install the ignition coils.
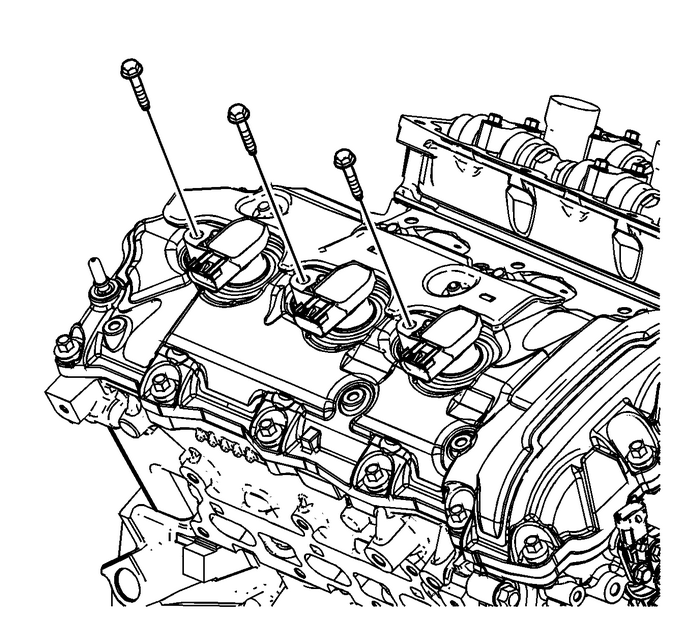
Install the ignition coil bolts and tighten to 10-Y (89-lb-in).
 Camshaft Cover Installation - Left Side Valvetrain Camshaft
Special ToolsEN 46101 Spark Plug Tube Seal GuideEN-48383 Camshaft Retaining ToolsFor equivalent regional tools, refer toSpecial Tools.Remove the EN-48383-2 from the rear of the left camshafts.Install ...
 Camshaft Cover Replacement - Right Side Valvetrain Camshaft
Special ToolsEN-46101Spark Plug Tube Seal GuideFor equivalent regional tools, refer toSpecial ToolsRemoval ProcedureRemove the ignition coils. Refer toIgnition Coil Replacement - Bank 1Disconnect and ...
Other materials:
Front Differential Carrier Bearing Replacement Automatic Transmission Unit
Table 1: RemovalTable 2: InstallationRemovalRemovalCalloutComponent Name1Front Differential Carrier Bearing AssemblySpecial ToolsDT-41816 Three Legged PullerDT 41816-2 Step PlateFor equivalent regional tools, refer toSpecial Tools.2Inner RaceNote:Ensure all 3 legs of the puller make contact with the ...
